Last updated November 17, 2026






Free written scope consultation - allowances, timeline, and change-order rules on paper before a single trade is scheduled
Construction Warning Signs: A Spring Valley Homeowner’s Reference Guide
In Spring Valley’s resale market, the most expensive surprises aren’t foundation problems. They’re cosmetically finished bathrooms where the previous contractor tiled directly over drywall instead of cement board – a failure mode that stays invisible until grout cracks two years later and water has already been eating the studs. We’ve walked into Spring Valley homes with fresh paint and brand-new fixtures hiding work that never passed an inspection, and the repair bill usually lands between $6,000 and $18,000 once a wall comes open. This guide covers the physical warning signs that tell you a previous remodel was done wrong, so you can catch hidden problems before you buy a house or remodel over them.
Quick Answer
In Spring Valley, the construction warning signs that matter most are tile set over drywall instead of cement board in showers and tub surrounds, patchy stucco that hides unpermitted structural changes, electrical panels and outlets that don’t match the home’s original construction era, soil disturbance around the foundation that doesn’t fit normal desert landscaping, and missing permit cards or inspection sign-offs. Any one of these means a professional should look before you buy or remodel. Most of them cost more to ignore than to fix.
Styles & brands we work with
- Kitchen remodeling
- Bathroom remodeling
- Home additions & ADU
- Roofing
- Windows & doors
- Driveway & pavers
- Fence
Table of Contents
- How to spot tile installed over the wrong substrate
- What stucco patch patterns tell you about unpermitted work
- Electrical warning signs by Spring Valley construction era
- Caliche and disturbed soil near the foundation
- The documentation trail a reputable contractor leaves behind
- A 10-step walkthrough for inspecting a Spring Valley home
- Common mistakes to avoid
- When to call a professional
How to Spot Tile Installed Over the Wrong Substrate
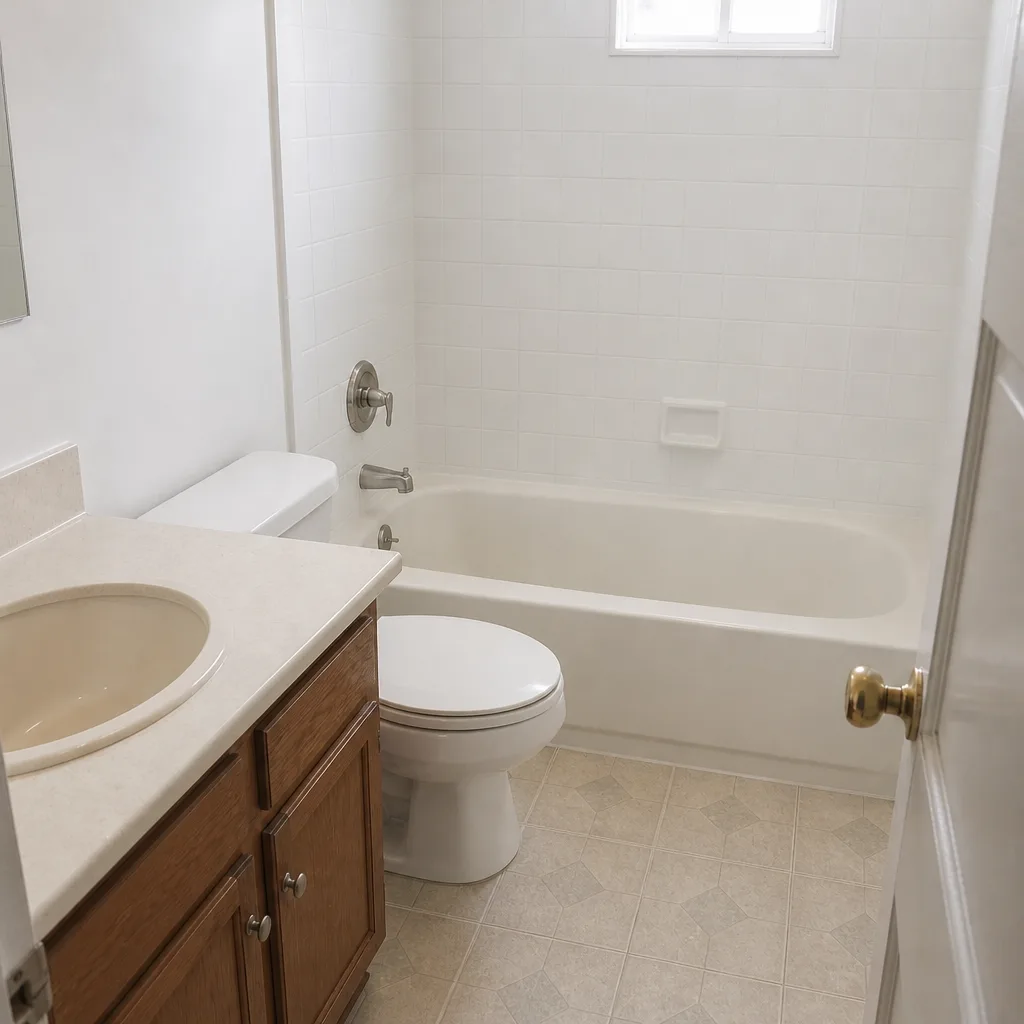
Cement board substrate (the moisture-resistant layer behind your tile) is the standard for any wet area. Drywall isn’t. In showers and tub surrounds, the difference doesn’t show up on day one – it shows up two or three years later, when grout lines start cracking in a pattern that follows the studs and the drywall behind the tile has turned to mush. We’ve opened Spring Valley showers where the previous tile job looked flawless and the paper facing on the drywall crumbled at a touch.
Here’s what to check before you buy or remodel over an existing bathroom:
- Press on the wall around the shower valve. Give it firm pressure with your thumb. Any softness, flex or give means moisture has been getting behind the tile.
- Look for crack patterns in the grout. Cracks that run in straight vertical or horizontal lines usually follow the seams of the backer material – and drywall seams fail first.
- Check the caulk joint at the tub and floor. Repeated caulk failure in the same spot after fresh application is a sign water is moving behind the wall, not just across it.
- Look for a change in tile plane at the base of the wall. A slight bulge or “kick” at the bottom row of tile usually means the drywall below has swelled.
- Ask the seller for the tile receipt. If the tile came with a brand-name product like a Dvele or Abodu prefab unit, a real substrate spec usually came with it. A box-store tile with no documentation and a bathroom redone two years ago is a question worth asking.
Our technicians have up to 22 years of experience, and the majority of the shower rebuilds we handle in Spring Valley replace drywall-and-mastic installs with proper cement board, waterproofing membrane and a written guarantee on the assembly. When we quote a tub surround rebuild, the number is on paper before we pull the first tile. You can reach our team at Bathroom Remodeling in Spring Valley for that conversation.
What Stucco Patch Patterns Tell You About Unpermitted Work
Stucco patch color and texture mismatches are the single most reliable visual cue that someone cut into the exterior wall of a Spring Valley home. A patch in a slightly different shade of cream, or one that has a rougher trowel finish than the surrounding wall, usually means a window was added, a slider was moved, an addition was framed in, or a structural change was made – and the work was closed up without a permit or inspection.
In Spring Valley’s desert climate, stucco holds up well for a decade or more without repatching, so a recent mismatched patch on a house that otherwise looks original is worth chasing down. Here’s how to read it:
- Look at the wall in raking light. Take a walk around the exterior at mid-morning or late afternoon when the sun is low. Patch texture and edges that look invisible at noon pop out in low light.
- Check the patch against the nearest window or door. Patches around openings usually follow a remodel. A patch with no opening next to it usually means something structural was moved and refinished.
- Look for cracking at the patch perimeter. Stucco cracks at the joint where old meets new if the patch wasn’t keyed in correctly. A hairline crack around a patch is normal; a crack that follows a full rectangle is not.
- Ask for the permit record. Most structural exterior work in Spring Valley requires a permit. If the seller can’t produce one, assume the work was done without inspection and plan for a professional look at the framing and sheathing.
A proper stucco patch done right in this climate should match the surrounding texture and last years. A patch that’s already cracking within the first year is telling you the substrate under it wasn’t prepped correctly. Either way, it’s a signal, not necessarily a dealbreaker.
Electrical Warning Signs by Spring Valley Construction Era
Spring Valley grew up in distinct waves of tract home construction, and each era has its own electrical calling cards. When a remodel was done well, the panel, the outlet layout and the wiring method all line up with the era the house was built. When they don’t match, that’s your warning sign. Electrical work is genuinely dangerous to open up yourself – panel work and any wiring behind a wall belong to a licensed electrician, not a weekend project. What you can do is read the signs.
Here’s what to look for by construction era:
- 1980s Spring Valley homes: Aluminum branch wiring shows up in some builds from this era, and a remodel often left it in place behind new drywall. Look inside a receptacle box (with the breaker off) for silver-colored wire. Aluminum connection points need specific rated devices; standard outlets installed on aluminum are a fire risk.
- 1990s homes: Original panels in many Spring Valley houses of this era are close to their full capacity after a kitchen or bathroom remodel. If the panel cover has tape or a hand-written note about “new circuits,” look for whether they were added legally with a permit and inspection.
- 2000s homes: GFCI protection requirements changed over this decade, and a lot of kitchen and bath remodels from the 2000s were done without updating outlets near water. Test every GFCI in the kitchen and bathrooms. If the test button does nothing, that circuit is unprotected.
- Any era: A cluster of new outlets with mismatched cover plates, a new bathroom on a circuit that already serves three other rooms, or a subpanel that appeared in a garage with no permit sticker is a sign someone cut corners.
When we open walls for a kitchen or bath remodel and see unpermitted electrical, we stop and tell you before we build over it. That’s part of The Kingswell Way: say the price before the work, show up in the window we gave, and leave the place cleaner than we found it. If the electrical isn’t something we can responsibly cover with our written guarantee, we say so on paper.
Caliche and Disturbed Soil Near the Foundation
Spring Valley’s caliche layer – the cemented natural soil that sits like a hardpan under a lot of this valley – is why landscaping here looks the way it does. Desert-adapted plants tolerate it. When you see disturbed caliche near the foundation of a Spring Valley home, though, it usually means something got dug out or filled in, and that’s the warning sign worth chasing.
Here’s how to tell normal desert landscaping from disturbed soil:
- Normal: Native plants sitting in their own footprint of soil, unbroken caliche visible in a few places, no smooth soil lines running along the foundation.
- Disturbed: A straight band of looser, lighter-colored soil running along the base of the foundation – that’s often backfill from a foundation repair, a sewer line replacement or a pool removal.
- Disturbed: Caliche chunks piled in one spot but missing from an adjacent area. That’s excavated material that got stockpiled and never fully spread.
- Disturbed: Fresh gravel or rock over a rectangular footprint. Someone covered up a dig, and the question is what they dug and whether it was inspected.
- Disturbed: Landscaping that dips toward the foundation instead of away from it. After a soil disturbance, the grading often got missed, and that leads to water pooling against the stem wall – the kind of problem that only shows up in a bathroom remodel years later.
None of these are proof of bad work on their own. A pool removal, a sewer tie-in or a slab repair all leave the same marks. What they tell you is that a professional needs to look at the foundation and the grading before you build anything else on top of it.
The Documentation Trail a Reputable Contractor Leaves Behind
A contractor who does the work right leaves a paper trail you can actually find. A contractor who doesn’t leaves you guessing. In Spring Valley, the trail runs through the county’s permit records, the inspection sign-offs on the permit card, and the written warranty you should have been given at the end of the job.
Here’s what “good” documentation looks like when you’re buying a home or planning to remodel:
- A permit was pulled. Structural changes, additions, new electrical circuits, plumbing relocations and any project over the local threshold need a permit. If a seller says “we didn’t pull a permit, it was just cosmetic,” ask what “cosmetic” meant. Tile over drywall is often “just cosmetic.”
- Inspection sign-offs are recorded. A permit is only half the record. Each stage – framing, rough electrical, rough plumbing, insulation, drywall, final – gets its own inspection. Sign-offs confirm someone looked.
- A written warranty exists. Not a verbal “we’ll take care of you,” not a handshake. A written document saying what’s covered, for how long, and what happens if it fails. Our 365-Day Done Right Promise works this way: if the work fails within a year, we come back and fix it at no charge, and the promise is in writing on every project.
- Product documentation matches what was installed. Brand-name materials – KraftMaid or Wellborn cabinetry, Cambria or Silestone countertops, Kohler or Moen fixtures – each come with their own manufacturer documentation. That paperwork is your map of what’s behind the wall.
- Before-and-after photos with dates. A legitimate contractor documents their work. The absence of any photo record on a major remodel is a signal the remodeler doesn’t want the work archived.
When none of this exists, plan for a professional inspection before purchase or before you build over the work. Our team writes down what we see and what it will cost to correct before any new work starts.
A 10-Step Walkthrough for Inspecting a Spring Valley Home
Walking through a Spring Valley home with these ten steps in order catches most of the failures that get covered up in a cosmetic remodel. Bring a flashlight and a phone camera. Write down what you see at each step rather than trusting memory.
- Start at the electrical panel. Open the cover panel. Look for a blank, a missing breaker seat, or hand-written notes on the inside of the panel door about added circuits. A panel with added notes but no permit sticker is a question for a licensed electrician.
- Walk every bathroom and press on the shower wall. Any flex or softness is a substrate failure until proven otherwise.
- Look at the grout around the tub and shower base. Crack patterns tell you what’s behind the tile.
- Test every GFCI outlet in the kitchen and bathrooms. The test button should click and cut power. If it does nothing, that circuit is unprotected.
- Walk the exterior in raking light. Note every stucco patch, its shade and its texture against the surrounding wall.
- Check the soil line at the foundation. Walk the perimeter and look for disturbed soil, backfill, or grading that dips toward the house instead of away.
- Ask for the permit record. Most counties publish permit history online. Pull the record while you’re in the house, not after.
- Check kitchen cabinet and countertop alignment. Cabinets that don’t sit level, or a countertop with a visible seam where there shouldn’t be one, are signs of a fast remodel. A Dvele or Cover prefab unit installed correctly shows a clean cabinet line and flush seams.
- Look at the trim and baseboard at floor and ceiling. Gaps, uneven paint lines at the wall/ceiling joint, and baseboard that doesn’t sit flat against the wall are cosmetic tells that the wall behind was reworked.
- Ask for the warranty on any recent work. If there’s no written warranty, treat the work as out of coverage and price the fix into your offer.
These steps take about an hour in a typical Spring Valley home. They don’t replace a professional inspection, but they’ll tell you where to spend inspection money and which questions to ask before you sign.
Common Mistakes to Avoid
- Trusting a fresh coat of paint. Fresh paint is the cheapest way to hide patch work, water stains and gaps. Ask when a room was painted, and by whom, and get the answer in writing on the disclosure.
- Assuming a home inspection covers construction quality. A standard pre-purchase inspection reports on visible systems. It doesn’t open walls, pull tile or check substrate. If you have bathroom or kitchen warning signs, request a contractor-specific look.
- Skipping the permit search. In Spring Valley, the county record is public and free to search. A five-minute look tells you whether the addition, the bathroom or the electrical panel was ever inspected.
- Fixing cosmetic tile without opening the wall. Retiling over a soft substrate is the most expensive mistake we see. You’ll pay twice – once for the tile and once for the rebuild you should have done first.
- Taking a verbal warranty as good enough. A warranty you can’t hold someone to is not a warranty. Get it in writing, get the coverage period in writing, and get the phone number of the company that stands behind it in writing.
- Hiring the cheapest quoted number. The gap between the cheapest quote and the middle-of-the-road quote is almost always explained by what the cheap quote left out – permits, substrate, waterproofing, inspection. Fixed pricing with no change orders written up front protects you from the surprise on demo day.
- Ignoring grading after a soil disturbance. The pool removal or sewer line replacement that disturbed the soil was probably fine. The grading that got missed afterward is what causes water against the stem wall, and it shows up three years later as a cracked bathroom floor tile.
See the difference
 Before
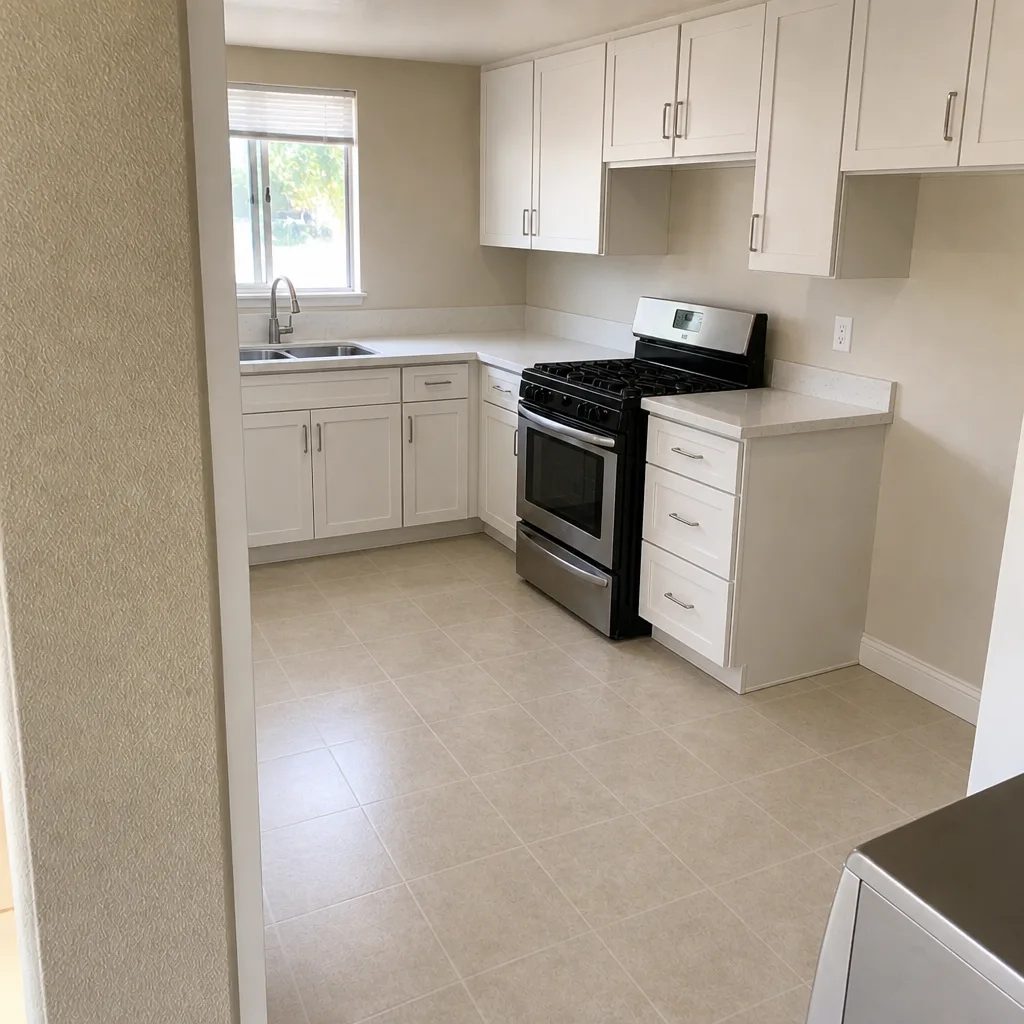 After
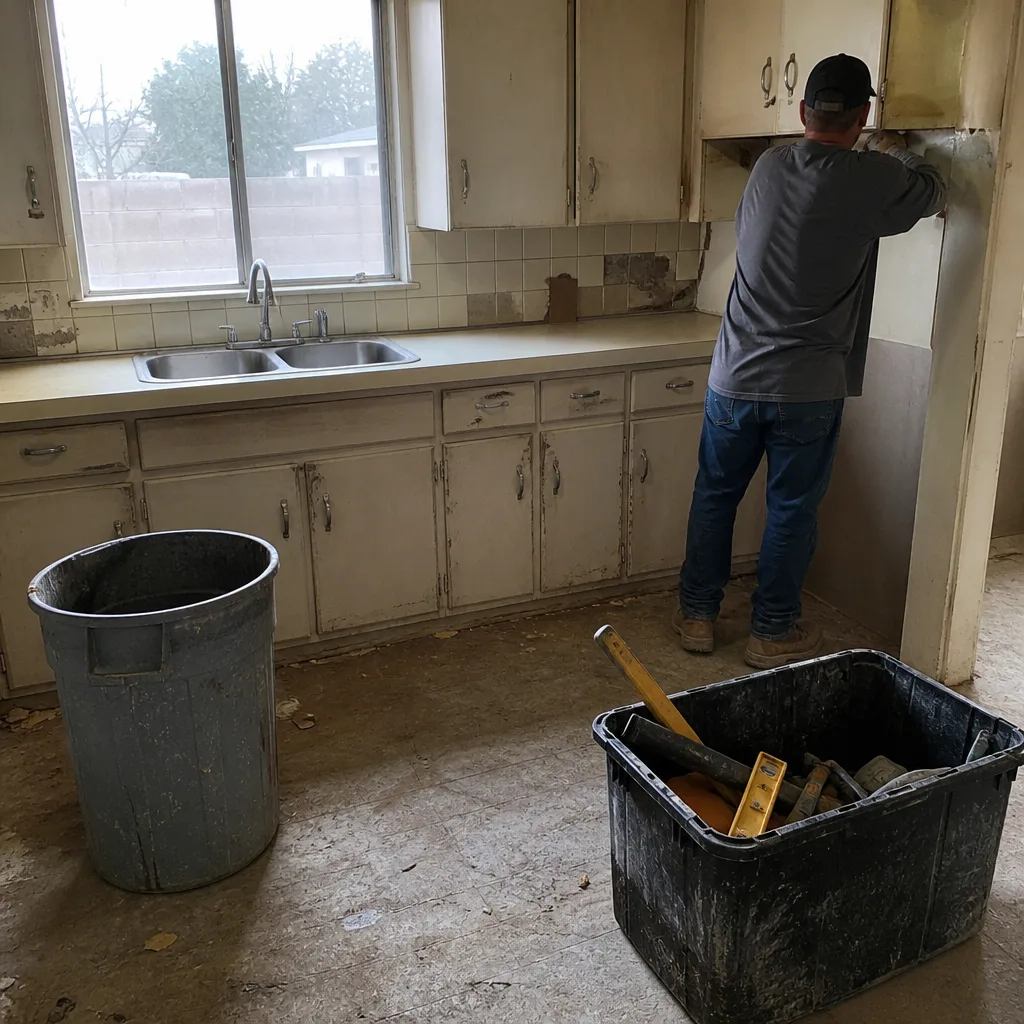 Before
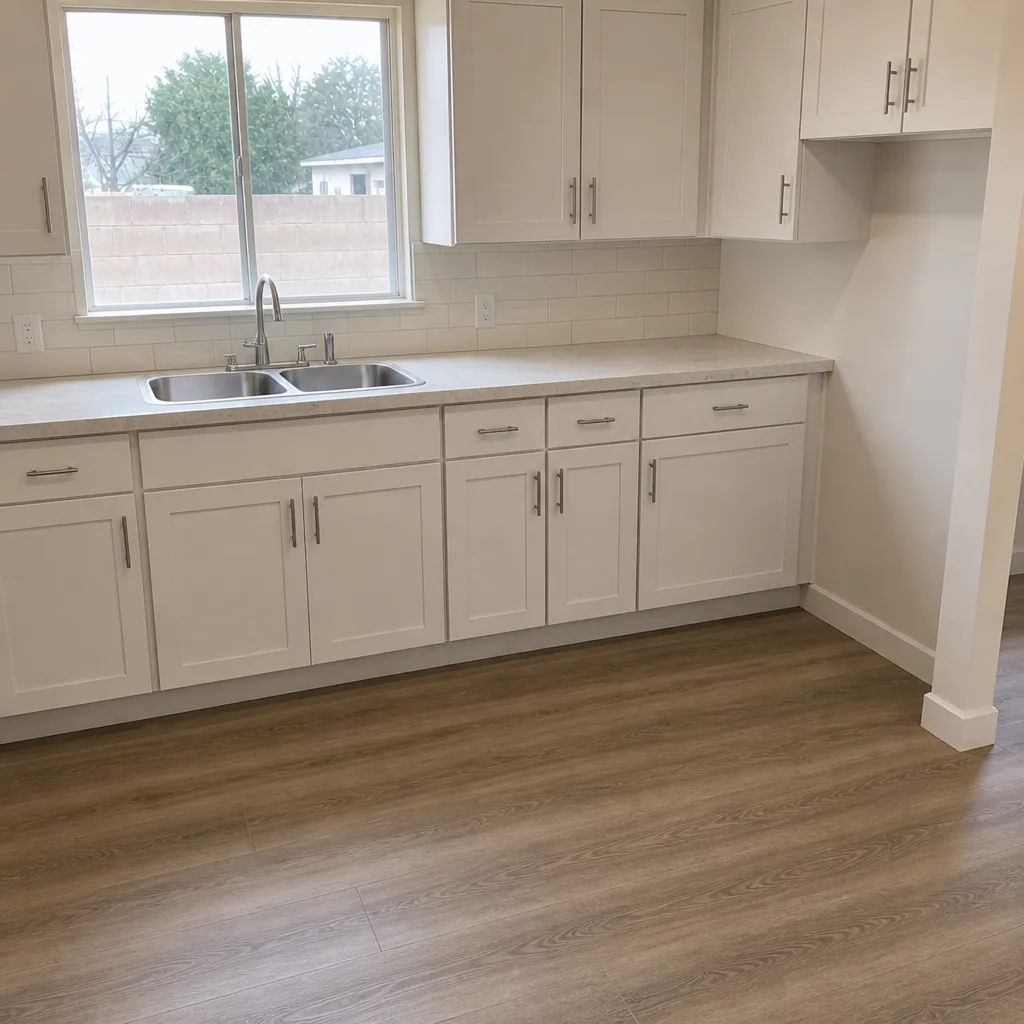 After
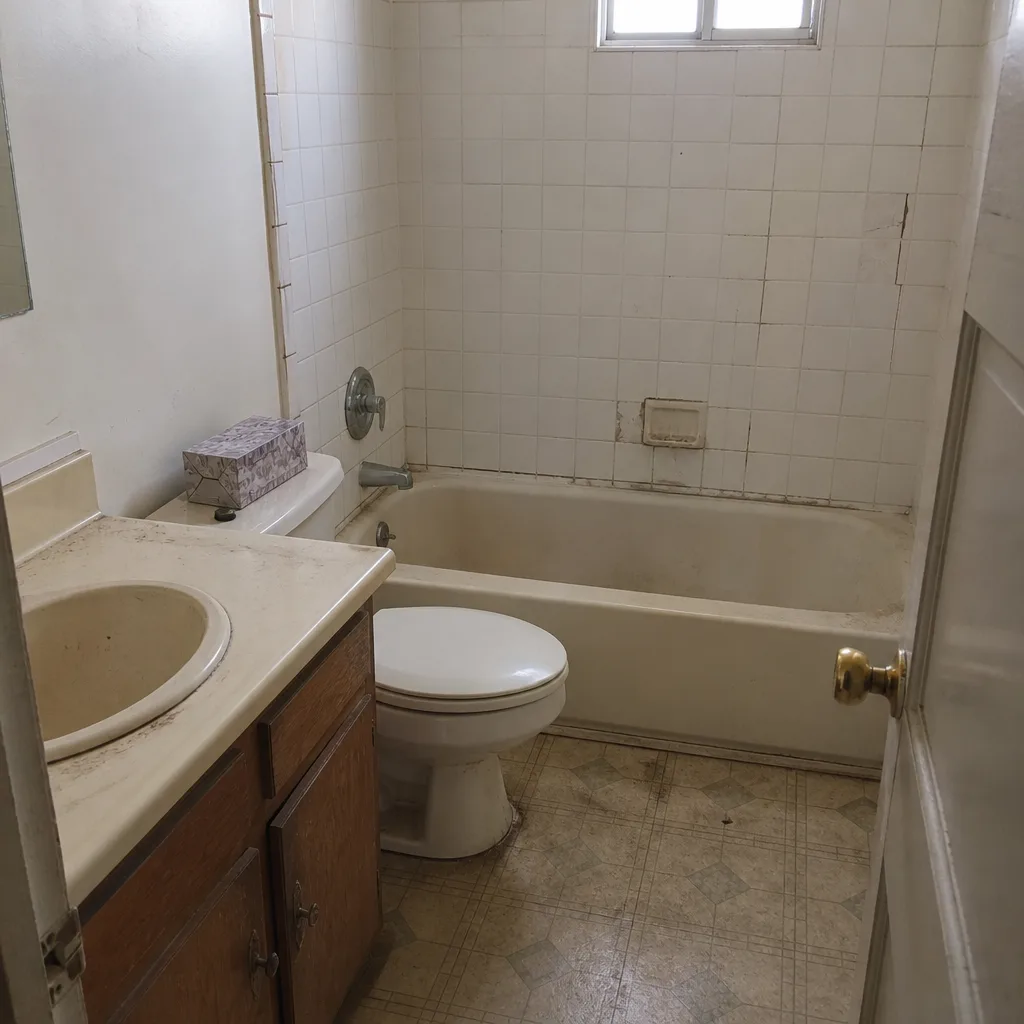 Before
 After
When to Call a Professional
Call a professional before you close on a Spring Valley home if any of the following is true: you see fresh stucco patches with no permit record; you feel flex in a shower wall or see grout cracking in straight lines; the panel shows hand-written notes about added circuits without a permit sticker; the soil at the foundation has been disturbed and regraded toward the house; or the seller can’t produce a written warranty on a recent remodel. Any of these signals means something got covered up that you need to know about before you spend more on top of it.
We handle kitchen remodels, bathroom remodels and whole-home remodels in Spring Valley as a general contractor. Our team writes down what we find, prices the correction on paper, and stands behind the work with a 365-day written guarantee. Penhallow Remodeling Spring Valley offers free estimates in Spring Valley – call (844) 797-3346 to schedule yours. A live person answers the phone, day or night. You can also start with our Penhallow Remodeling Spring Valley home page to see what we do.
Frequently Asked Questions
The most reliable test is pressing firmly on the shower or tub-surround wall with your thumb. Any softness, flex or give means moisture has moved behind the tile and the substrate is likely drywall, not cement board. Grout cracks that run in straight vertical or horizontal lines are the second tell – they follow the seams of whatever backer material was used, and drywall seams fail first. Call a contractor for a proper look before you buy or remodel over that bathroom.
Most kitchen and bathroom remodels in Spring Valley require a permit when the work touches plumbing, electrical, structural elements or waterproofing. Tile replacement and cosmetic paint usually don’t. The safe rule: if a wall opens, a fixture moves, or a circuit changes, pull a permit. Call us at (844) 797-3346 for a free estimate that includes what permits your project needs before any work starts.
A mismatched stucco patch – different shade, different texture, or cracking at its perimeter – tells you someone cut into the exterior wall and refinished it. It usually means a window moved, a slider was added, an addition was framed in, or a structural change was made. Whether the work was permitted is a separate question you can answer by pulling the county permit record. If the patch has no permit and no inspection behind it, get a professional look before you build anything else on that wall.
1980s Spring Valley homes can have aluminum branch wiring that a later remodel left in place; look for silver-colored wire inside a receptacle box with the breaker off. 1990s homes often have original panels that are close to full after a kitchen or bathroom remodel, so check for hand-written notes about added circuits or a subpanel with no permit sticker. Any of these is a job for a licensed electrician, not a DIY check.
Cost depends on the failure. A tub-surround shower rebuild with proper cement board and waterproofing typically runs $4,500 to $11,000 in Spring Valley. Unpermitted electrical corrections run $800 to $3,500 for a panel or circuit fix. Structural corrections after an unpermitted wall move or an addition start at $6,000 and climb from there. These are real ranges, not a quote – your written price comes after we see the actual condition. Call (844) 797-3346 for a free estimate.
No. We give a written price before any work starts, and the number on day one is the number on your invoice. That’s part of The Kingswell Way – the standard that every project gets written pricing, a real arrival window, a clean job site and a written guarantee. If something unexpected turns up behind a wall once we open it, we stop and talk to you before we charge anything. Call (844) 797-3346 for a free estimate.
The Bottom Line

The costliest construction problems in Spring Valley are the ones you can’t see: tile set over drywall instead of cement board, stucco patches hiding structural changes, electrical added without a permit, disturbed soil near the foundation, and paperwork that doesn’t exist because the work was never inspected. Read the signs before you buy or remodel over them. A professional look costs a fraction of the fix. We do whole-home, kitchen and bathroom remodels as a general contractor, we put the price in writing before any work starts, and we back the work with a 365-day written promise. If you want the number first and the work second, we’re built for that. Call (844) 797-3346 to schedule a free estimate in Spring Valley. If you’re planning a larger scope, start with our General Contractor in Spring Valley page, or see what’s possible in Kitchen Remodeling in Spring Valley.
Written by the team at Penhallow Remodeling Spring Valley.