
Last updated November 17, 2026








Free written scope consultation - allowances, timeline, and change-order rules on paper before a single trade is scheduled
Bathroom Remodeling Troubleshooting: Common Problems and How to Fix Them
If your grout cracks within a year of a bathroom remodel, the grout is not the problem. Cracked grout in a slab-on-grade home almost always means the tile was set directly on drywall, the substrate wasn’t floated flat, or the slab had minor movement that nothing was done to decouple. The grout is just where the failure shows up first.
That’s the pattern we see most in Spring Valley, and it’s the reason this guide is organized around a sequence rather than a checklist. Grout cracks, then tile loosens, then water gets in. Each symptom points back to a different installation error that happened weeks before you noticed anything. Read the sequence correctly and you fix the cause. Read it wrong and you’ll be re-grouting the same joint every spring.
What follows covers how to trace a ceiling stain to its real origin, how the 365-Day Done Right Promise interacts with manufacturer warranties, how to tell a wax ring from subfloor rot, and how to report a defect in writing so your guarantee claim holds up in Nevada.
Quick Answer
Most bathroom remodel failures trace back to three installation errors: tile set on the wrong substrate, a shower pan that was never flood-tested, and toilets or shower doors installed without checking that the framing and slab were level. Fixing the symptom (regrouting, caulking over a leak) buys you a few months and then fails again. The durable fix is always at the layer underneath, which is why identifying the failure chain before you touch anything matters more than any single repair.
Styles & brands we work with
- Kitchen remodeling
- Bathroom remodeling
- Home additions & ADU
- Roofing
- Windows & doors
- Driveway & pavers
- Fence
Table of Contents
- The Failure Chain: Reading Grout, Tile, and Water in Order
- How to Trace a Water Stain Below Your Bathroom to Its Origin
- Workmanship Guarantee vs. Manufacturer Warranty: Which Do You Call First?
- Is That Loose Toilet a Wax Ring or Subfloor Rot?
- Shower Door Leaks: Three Installation Errors and How to Tell Them Apart
- How to Document a Remodel Defect So Your Guarantee Claim Stays Valid
- What Spring Valley Conditions Do to a Bathroom Over Time
- Common Mistakes to Avoid
The Failure Chain: Reading Grout, Tile, and Water in Order
Bathroom failures announce themselves in a fixed order, and the order tells you where the problem started. Grout is the first thing to crack because it’s the most rigid, least forgiving material in the assembly. Tile loosens next, because once grout opens a gap, movement has somewhere to go. Water intrusion is last, because it takes time for moisture to work through a cement board substrate (the moisture-resistant layer behind your tile) and reach the framing.
Here’s what each stage usually means:
- Hairline cracks along grout lines within 12 months: the substrate flexed. Either the tile went over drywall instead of cement board, or the joist deflection was outside tolerance for the tile size.
- Cracks concentrated in one area, often a corner or the floor-to-wall joint: movement at a change of plane. That joint should have been caulked, not grouted.
- Grout cracking plus hollow-sounding tile: the thinset didn’t bond. Usually a coverage problem, sometimes a dusty substrate that was never primed.
- Cracks plus a soft spot or discoloration: water is already in the assembly. Stop diagnosing tile and start looking for the leak source.
The timing matters too. A crack that appears in month two is an installation error. A crack that appears in year four after a stable three years is usually movement or settling, and the fix is different. In our experience across Spring Valley bathrooms, the slab-on-grade homes built through the 1990s and 2000s are the ones most likely to show that early grout cracking, because the slab moves slightly and nothing in a drywall-and-thinset assembly absorbs it. A decoupling membrane under the tile costs a few hundred dollars during a remodel and prevents most of this. If you’re planning work rather than repairing it, our bathroom remodeling in Spring Valley page covers how we spec the assembly before tile goes down.
How to Trace a Water Stain Below Your Bathroom to Its Origin
A water stain on the ceiling below a bathroom has exactly three likely origins: the subfloor and drain connection, the pan liner, or the grout and tile surface. You can usually narrow it to one before anyone opens a wall. The trick is watching when the stain grows.
- Stain grows only when the shower runs, and stops when it doesn’t: surface water. Grout, caulk, or a failed seal at the shower door or curb. This is the cheapest fix and the one most often skipped in favor of tearing out the pan.
- Stain grows when the toilet is flushed or after heavy use but not from showering: a wax ring or flange seal, possibly a cracked closet flange. Pull the toilet and inspect before assuming the worst.
- Stain grows slowly and steadily, rain or shine: the pan liner is compromised or was never installed with the correct slope. The water is getting under the tile and sitting.
- Stain appears at the perimeter of the room, near an exterior wall: suspect supply or drain lines in the wall, not the shower at all. A pinhole in a copper line will show up far from where you’d expect.
One thing to check before any of this: whether the ceiling below is actually below the bathroom, or below a hallway adjacent to it. We’ve seen homeowners chase a shower leak for weeks before realizing the stain lined up with a supply line running to a vanity on the other side of the wall. Mark the stain’s outline in pencil with the date. If it grows, you know the leak is active. If it doesn’t move for two weeks of normal use, you may be looking at a stain from a one-time overflow.
The reason this diagnosis matters so much is cost. A grout-and-seal repair runs a few hundred dollars. A pan replacement runs into the thousands. Getting the origin right before the demo is the difference between those two numbers.
Workmanship Guarantee vs. Manufacturer Warranty: Which Do You Call First?
Call the contractor first. Always. A manufacturer warranty covers the product failing on its own; a workmanship guarantee covers the installation failing, and installation failure is the far more common cause in a bathroom. If your Kohler or Moen fixture is leaking at a joint, the fixture is almost never the problem. The install is.
Here’s the split in practical terms:
- Workmanship (call your contractor): grout cracking, tile popping, shower door leaking at the frame, toilet rocking, caulk failing at a change of plane, drain not seated, water pooling in the pan.
- Manufacturer (call the brand): a faucet cartridge that fails internally, a finish that pits or flakes without cause, a fixture with a casting defect, a vanity door that warps from a manufacturing flaw.
- Neither, and it’s on you: damage from a dropped object, cleaning products that etched a finish, a clog caused by what went down the drain, and normal wear on caulk joints, which need refreshing every few years in any bathroom.
We write the workmanship guarantee into every project because the boundary is where homeowners get stranded. The 365-Day Done Right Promise covers the work for a full year: if something we installed fails, we come back and fix it at no charge. That’s in writing on every project, so there’s no argument about whether the grout crack is “your fault” or “our fault.” We also honor a free second visit if a repair fails, with no service-call or re-inspection fee, so you’re not paying a trip charge to have the same problem looked at twice.
Manufacturer warranties stack on top. Cambria quartz carries its own lifetime warranty, and it runs alongside ours rather than replacing it. When you’re weighing a bid, ask what the written guarantee actually says. A verbal “we stand behind our work” is worth nothing on day 400.
Is That Loose Toilet a Wax Ring or Subfloor Rot?
You can tell the difference before you pull the toilet, and doing so saves you from opening a floor you didn’t need to open. A wax ring failure shows up as a slow leak at the base with no softness in the floor. Subfloor rot shows up as movement, a spongy feel when you press near the flange, and often a smell you can’t place.
- Rock the bowl gently side to side. A toilet that rocks but sits on solid floor is a loose closet bolt or a flange that’s set too high. Tighten the bolts and re-check. If the rock stops, you likely caught it early.
- Press down on the floor around the base with your weight. Any give or sponge means moisture has reached the subfloor. Stop here and call a contractor. Rot spreads, and a wax ring replaced over rotted subfloor will fail again within months.
- Look at the caulk line at the floor. Fresh cracking or a dark stain at the back of the base is a sign of a long-running leak. A wax ring that failed recently usually leaves the caulk intact.
- Check the ceiling below if you have one. A stain directly under the toilet flange confirms the wax ring or flange is the source, not the shower.
The wax ring itself is a DIY-level job for many homeowners, though we’d point out that a failed ring usually means the flange is sitting at the wrong height, which is not a DIY fix and is exactly the kind of thing that gets missed during a remodel. Subfloor rot is not a DIY job. It’s a structural repair that means cutting out the damaged section, sistering joists if they’re affected, and reinstalling the flange at the correct height. In Spring Valley homes with bathrooms over a garage or crawl space, we’ve seen rot extend further than the visible stain suggested, so the inspection is worth doing properly. If you suspect rot, our general contractor in Spring Valley team can assess it before anything gets cut.
Shower Door Leaks: Three Installation Errors and How to Tell Them Apart
Nearly every shower door leak comes from one of three installation errors, and you can identify which one you have without removing the door. The give-away is where the water lands.
- Error 1: The door was set out of plumb. Symptom: water runs along the bottom of the door and pools on the curb or the floor on one side only. Hold a level against the door frame’s vertical edge. If it’s off, the sweep can’t seal because the gap isn’t uniform top to bottom.
- Error 2: The bottom sweep or seal was installed with the wrong gap. Symptom: water sprays out at the bottom during a shower and tracks toward the bathroom floor. Look at the sweep where it meets the curb. It should touch lightly along its whole length. A visible gap at either end means the door or the curb isn’t square to the other.
- Error 3: The frame was sealed on the inside instead of the outside, or both. Symptom: water appears at the base of the frame on the bathroom side, sometimes hours after a shower. Silicone on the inside of the frame traps water in the channel instead of letting it drain back into the shower. The correct detail is a seal on the outside and an open weep path inside.
Here’s the test: dry the whole assembly, run the shower for five minutes with the door closed, and watch where the first bead of water appears. Bottom of the door means sweep. Base of the frame means the seal is on the wrong side. One side of the curb means plumb. That’s a ten-minute diagnosis that saves you from a full door removal.
A note on materials: we install Kohler and Moen shower hardware because the tolerances are consistent enough that a properly set door stays set. Cheap frames with soft extrusions bend when they’re installed, and once a frame is bent out of plumb nothing you do to the sweep will fix it.
How to Document a Remodel Defect So Your Guarantee Claim Stays Valid
Documentation is what makes a guarantee enforceable in Nevada. A written guarantee is only as strong as the record you keep, and the homeowners who get a fast, no-argument fix are almost always the ones who reported the problem in writing with photos and dates.
- Photograph the defect with something for scale. A coin or a ruler next to a grout crack tells the contractor what they’re looking at. Take one wide shot of the whole area and one close-up.
- Write a dated description of what you see and when it started. “Crack appeared in grout at floor-to-wall joint on north wall, noticed March 3, grows about 1/8 inch per week.” That’s a record. “Grout is cracked” is not.
- Note what you’ve done and haven’t done. If you caulked over it or used a cleaning product on it, say so. Hiding your own attempt at a fix is the fastest way to void a claim.
- Send it in writing, by email, to the address on your contract or guarantee document. A phone call is fine for speed, but the written record is what protects the claim. Keep the reply.
- Don’t let anyone else touch it first. If another contractor opens the wall, the original guarantee usually no longer applies to that area, and reasonably so. Report first, repair second.
Most disputes we hear about aren’t about whether the work failed. They’re about whether the homeowner reported it in time and in writing. The 365-Day Done Right Promise is a written guarantee included with every project, and the way you keep it valid is simply to tell us in writing while the window is open. If you’re past the window, call anyway. A live person answers the phone around the clock, and a real conversation beats a guess about whether you still qualify. Our Penhallow Remodeling Spring Valley home page lays out the full set of commitments we make on every project.
What Spring Valley Conditions Do to a Bathroom Over Time
Spring Valley’s climate is hard on bathrooms in a specific way. The dry air for most of the year pulls moisture out of caulk and grout, shrinking both, and then the summer monsoon brings a stretch of humidity that swells everything back. That cycle of shrink and swell is what opens joints at changes of plane, and it happens faster here than in a steadier climate.
Two things follow from that. First, caulk joints in a Spring Valley bathroom should be refreshed every two to three years as routine maintenance, not treated as a defect when they eventually fail. Second, any rigid material that spans a change of plane needs a flexible joint rather than grout, because the assembly is going to move whether you plan for it or not.
Homes in the older parts of Spring Valley, particularly the slab-on-grade builds from the 1980s and 1990s, also tend to have original cast-iron drain lines under the bathroom. Those lines scale up from the inside over decades, which slows drainage and eventually causes backups that look like a fixture problem. If you’re remodeling anyway, having the drain line scoped before the floor goes back down costs a couple hundred dollars and can save a very expensive redo later. We check for this during the planning visit, not after demo.
The other local factor is permits. Bathroom remodels in Spring Valley that move plumbing, add a fixture, or change the electrical layout require permits, and the inspection is a real gate. The upside: an inspected job is documented, and documented work makes any future guarantee claim simpler for everyone. When a company pulls the permits and the inspection passes, you have a paper trail that a verbal-estimate contractor never gives you. Our kitchen remodeling in Spring Valley guide covers the permit side in more depth if you’re planning both rooms.
Common Mistakes to Avoid
- Regrouting over a crack without finding the cause. New grout will crack in the same place within months because the movement underneath is still there. Find the flex source first.
- Caulking the inside of a shower door frame. This traps water in the channel and makes the leak worse. The seal goes on the outside, with the inside left to drain.
- Setting tile over drywall in a wet area. Drywall is not a substrate for tile in a shower, no matter how well it’s sealed. Cement board or a bonded waterproof membrane is the standard, and skipping it is the single most common cause of the failure chain this guide opened with.
- Replacing a wax ring without checking the floor. If the subfloor is soft, the new ring will fail in weeks. Test the floor before you buy the ring.
- Accepting a verbal estimate. A number you can’t hold anyone to is not a price. Get it in writing before work starts, and check that the amount on day one is the amount on the invoice.
- Waiting until month 14 to report a defect. If grout cracked in month three, report it in month three. A twelve-month guarantee runs out whether or not you noticed the problem.
- Letting a second contractor touch a failing install. That usually ends the original guarantee. Report the defect to the original installer in writing first, then decide how to proceed.
One more that isn’t a repair mistake but costs homeowners the most: choosing a bid because it’s the lowest, without asking what the bid actually covers. An estimate that skips the substrate prep, the decoupling membrane, and the permit is cheaper because it’s doing less. The price gap between those two bids is usually smaller than the cost of fixing the shortcut two years later.
See the difference
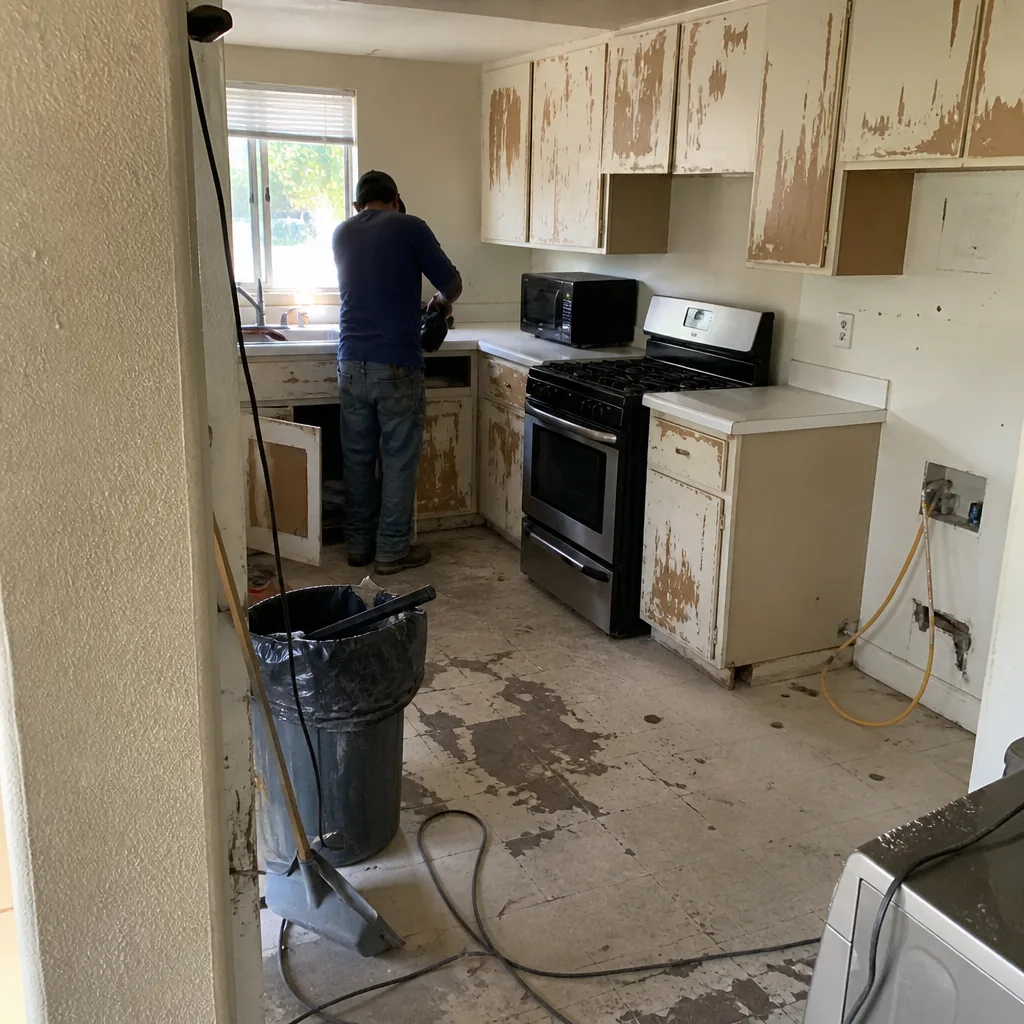 Before
 After
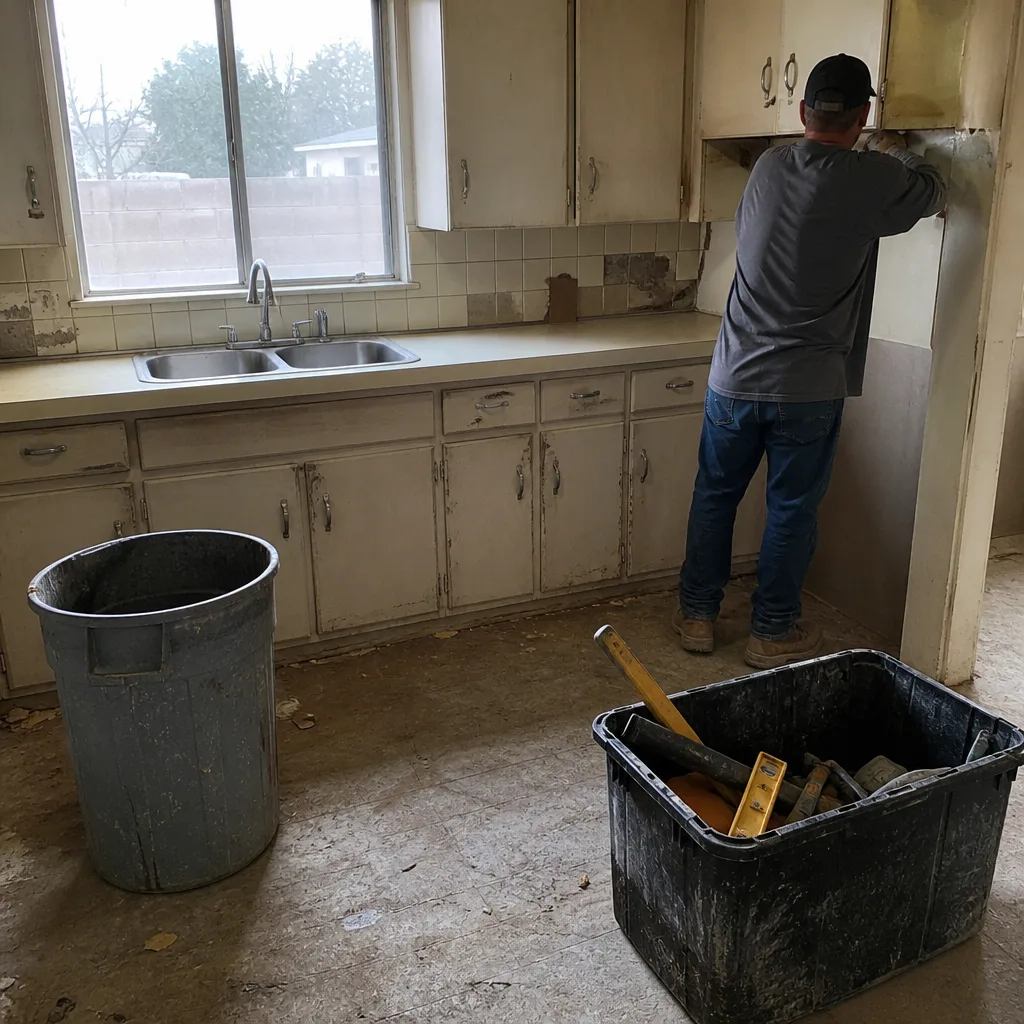 Before
 After
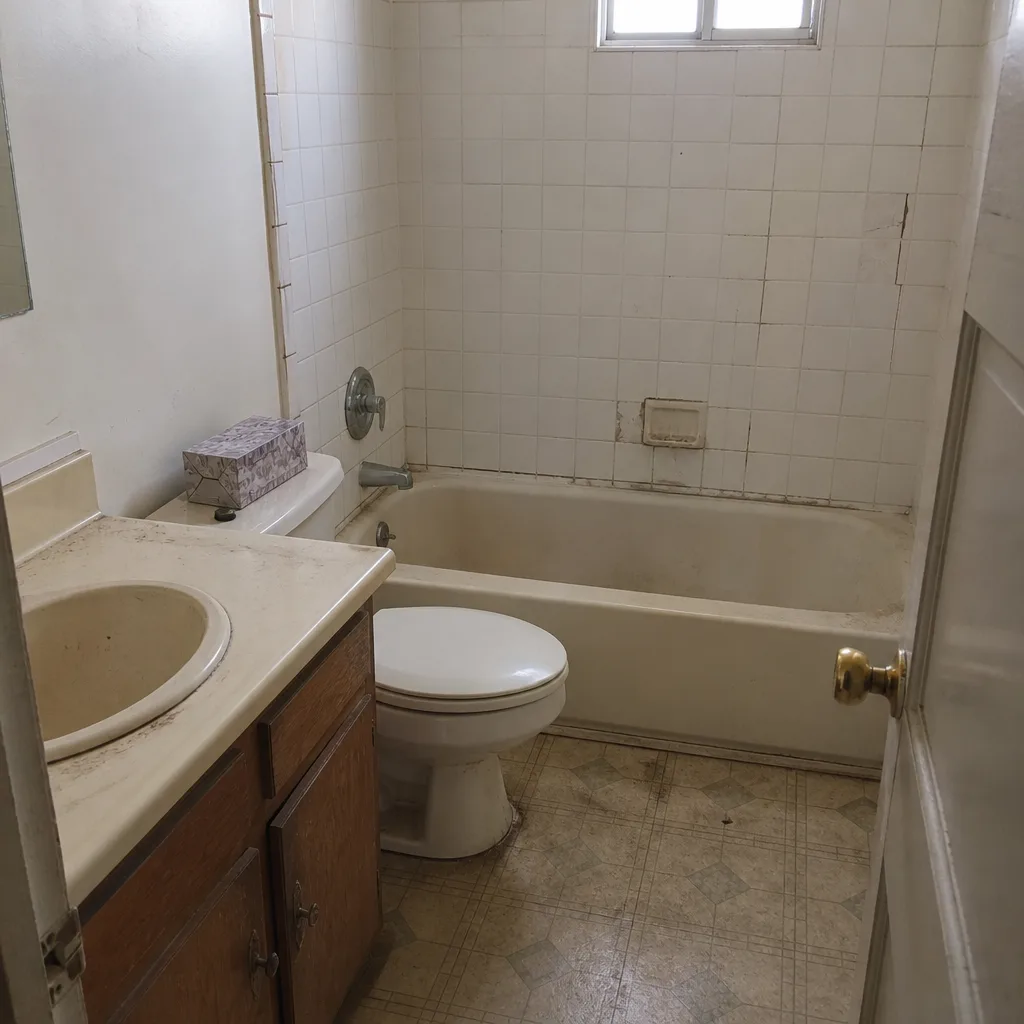 Before
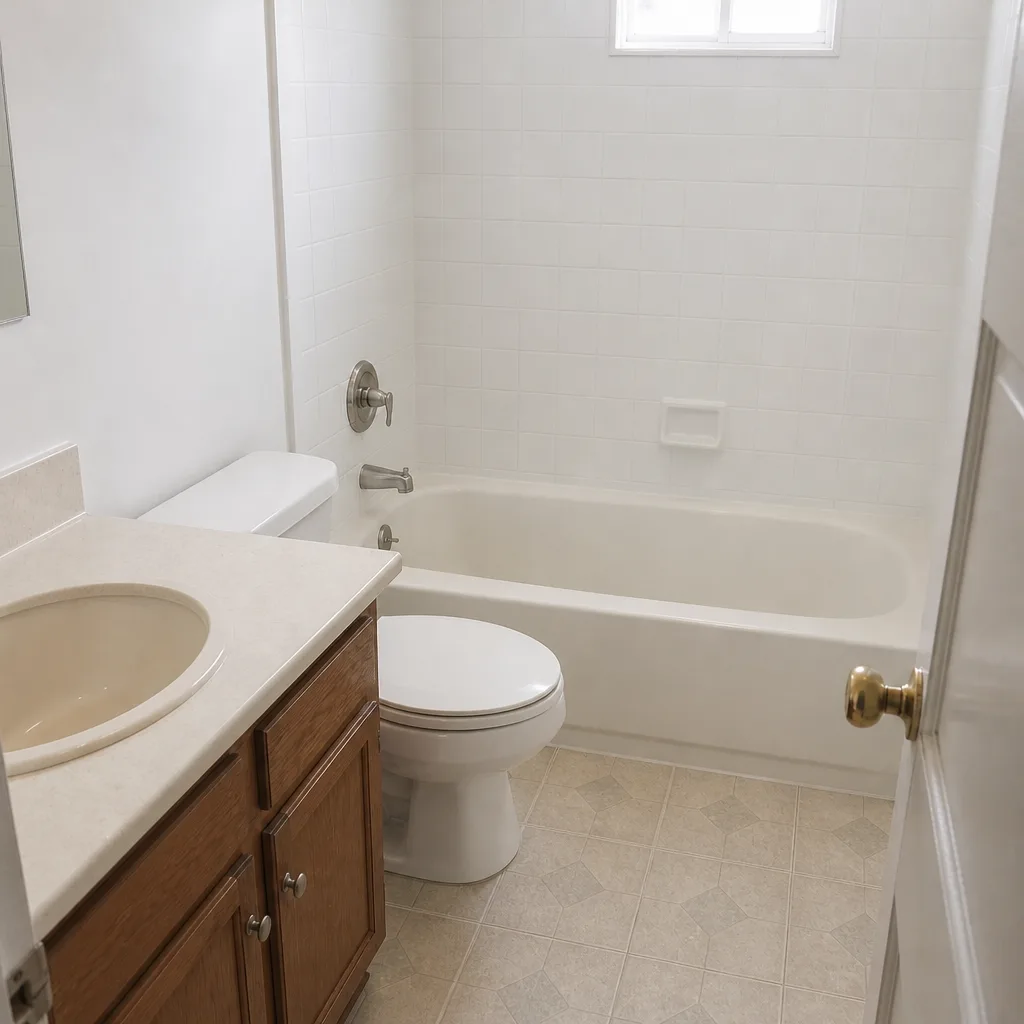 After
When to Call a Professional
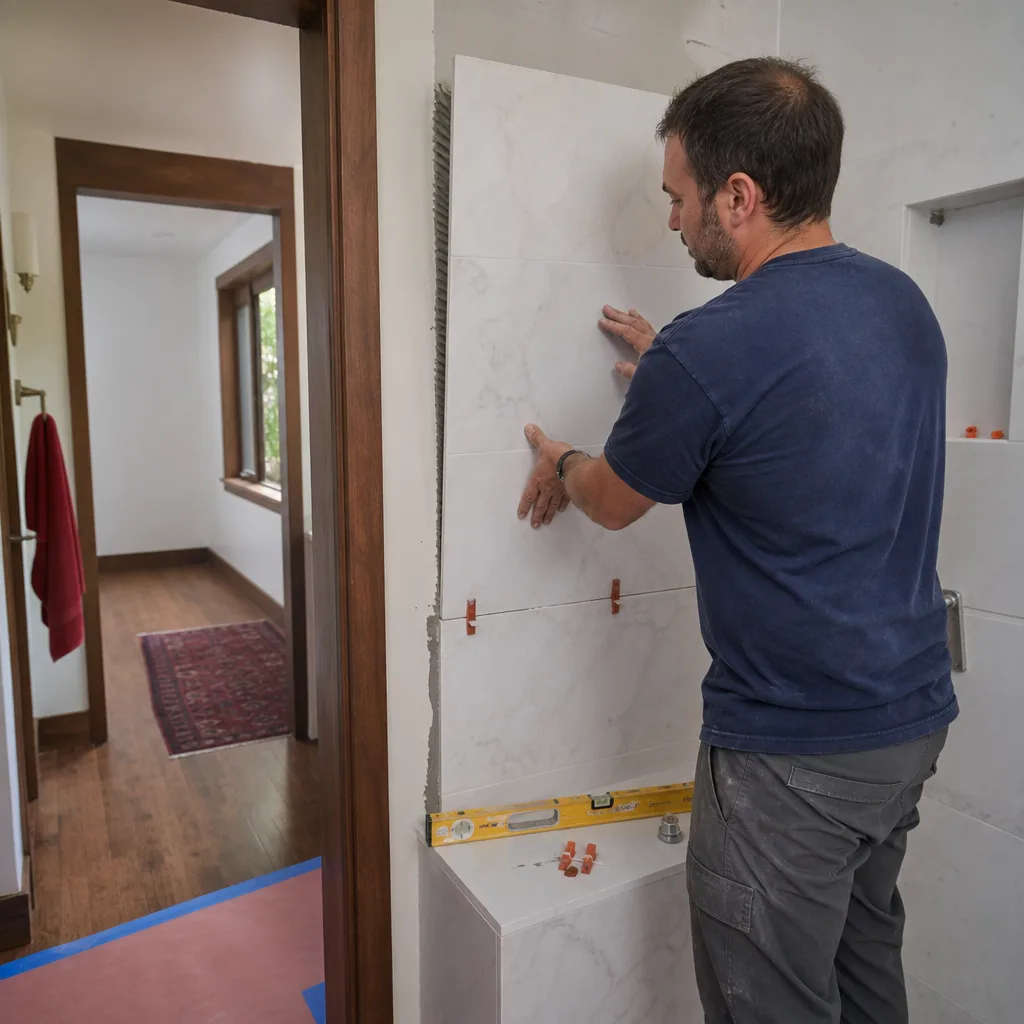
Call a contractor if the floor around a toilet feels soft, if a ceiling stain is growing, if tile sounds hollow across more than a few square feet, or if a shower pan holds water instead of draining to the drain. Those are the four conditions that point to a problem underneath the finish surface, and none of them improve with time. A grout crack alone is worth a phone call if it’s within the guarantee window; a soft subfloor is worth a phone call today.
What you should expect when you call is a written price before any work starts, and a clear answer about whether the issue falls under workmanship or manufacturer warranty. Penhallow Remodeling Spring Valley offers free estimates in Spring Valley. Call (844) 797-3346 and a live person will answer, day or night, and schedule a visit inside a defined arrival window.
Frequently Asked Questions
Grout cracks early because the substrate underneath moved or was never flat, not because the grout itself was mixed wrong. Common causes are tile set over drywall instead of cement board, a slab that shifts slightly with nothing decoupling the tile from it, and rigid grout used at a change of plane where a flexible joint belongs. If the crack appeared in the first year, call the contractor whose work it is. Call (844) 797-3346 for an exact assessment; estimates are free.
A wax ring failure leaks without the floor going soft; subfloor rot shows up as movement and a spongy feel when you press near the base. Rock the bowl gently and press on the floor around it. If there’s any give, stop and call a contractor, because replacing the ring over rotted subfloor will fail again in weeks. No give means it’s likely the ring or a loose closet bolt, which is a fixable job.
A workmanship guarantee covers how the product was installed; a manufacturer warranty covers the product itself. Grout cracking, a leaking shower door frame, a rocking toilet, and water pooling in a pan are all installation issues and belong to the contractor. A faucet cartridge failing internally or a finish pitting belongs to the brand. Call the contractor first, because installation failure is the more common cause of both.
Yes, if the work moves plumbing, adds or relocates a fixture, or changes the electrical layout. Spring Valley follows Clark County permitting and inspection, and the inspection is a genuine checkpoint on the plumbing rough-in and waterproofing before the walls close. A contractor who pulls the permit and passes inspection gives you documentation that makes any future guarantee claim simpler.
A typical full bathroom remodel runs several weeks from demo to final inspection, with the timeline set by tile drying time, inspection scheduling, and cabinet and countertop lead times. The delays we see most are cabinet and countertop deliveries and inspection scheduling, both of which get managed before demo starts rather than after. Call (844) 797-3346 to get a realistic schedule with your written price.
You should not accept a price change after demo unless the contract specifies how surprises are handled. The fix is to get a written price before any work starts, not an estimate range or a verbal ballpark, and to confirm in writing how the company handles conditions that couldn’t be seen until demo, like rotted subfloor or a failed drain line. The number on day one should be the number on the invoice. Penhallow works that way on every project, and the 365-Day Done Right Promise is written into the same document.
The Bottom Line

Bathroom problems are rarely what they look like at the surface. Grout cracks because something underneath moved. A ceiling stain is a timing question: watch when it grows and you’ll know whether it’s grout, a wax ring, or a pan liner. A loose toilet is either a cheap fix or a structural one, and pressing on the floor tells you which. Shower door leaks come from three specific errors, all diagnosable without removing the door. And every guarantee claim lives or dies on whether you reported the defect in writing while the window was open. Read the sequence, report in writing, and get the price in writing before the work starts. That’s the whole method, and it’s the one we build every Spring Valley project around.
If you’re staring at a crack, a stain, or a floor that gives underfoot, call us at (844) 797-3346 for a free estimate. A real person answers, day or night, and you’ll get a written price before anything gets opened up.
Written by the team at Penhallow Remodeling Spring Valley.