
Last updated November 17, 2026








Free written scope consultation - allowances, timeline, and change-order rules on paper before a single trade is scheduled
Bathroom Remodeling Maintenance Schedule: What to Do and When
Ask any contractor after a Spring Valley bathroom remodel what fails first, and you’ll hear the same answer: not the tile, not the fixture, but the silicone. In a Las Vegas bathroom, silicone caulk typically needs its first real inspection at 18 months, not the three years you’ll read in most national guides. The reason is thermal cycling. Your interior holds around 72°F while the exterior climbs past 115°F in July, and every one of those swings moves the joints between wall, floor, tub and shower a fraction of a millimeter. Multiply that by a thousand days and you have a maintenance calendar unlike anything written for a humid climate. This guide lays out exactly what to check each month of the first year, when to seal grout in a dry climate, how to keep the exhaust fan moving desert dust, and how to tell a workmanship issue from normal wear before your guarantee expires.
Quick Answer
A remodeled bathroom in Spring Valley follows a first-year schedule built around thermal cycling, not humidity: inspect silicone at 18 months, reseal grout every two years for polished tile and annually for matte, clean the exhaust fan grille quarterly and the motor every six months, and document everything in photos against your written workmanship guarantee. The single most important month is month eleven – that’s your window to file any guaranteed repair before the 365-day promise expires.
Styles & brands we work with
- Kitchen remodeling
- Bathroom remodeling
- Home additions & ADU
- Roofing
- Windows & doors
- Driveway & pavers
- Fence
Table of Contents
- The First-Year Maintenance Checklist for a New Bathroom
- Grout Sealing Schedule: Matte vs. Polished Tile in a Dry Climate
- Exhaust Fan Maintenance in a Desert Home
- Hard Water and Your New Fixtures
- Caulk and Joints: The 18-Month Rule
- Guarantee vs. Normal Wear: What Your Contract Should Say
- What Changes in Year Two and Beyond
The First-Year Maintenance Checklist for a New Bathroom
The first year after a remodel is when a workmanship issue will usually surface, and it’s also the window your written guarantee covers. That’s why the month-by-month schedule matters more now than at any other point in the life of the bathroom. We’ve seen homeowners miss a failing shower pan liner by three weeks because nobody thought to look at the downstairs ceiling until month fourteen. These are the checkpoints we walk our own customers through in Spring Valley.
Month 1: Run every fixture through its full range – the shower valve from cold to hot and back, the handheld sprayer at every setting, the faucet aerators on and off. Check under the sink vanity with a flashlight for any moisture on the cabinet base after a few days of normal use.
Months 2 – 3: Look at the caulk line along the tub and shower floor. In a desert climate, you’re watching for hairline separation where the wall meets the pan, not the mold you’d look for in Houston.
Months 4 – 6: Clean the exhaust fan grille for the first time and note how much dust it collected. That number tells you how often you’ll need to repeat it for the life of the fan.
Month 9: Inspect the tile field on the shower walls – look for any hollow-sounding tiles by tapping lightly with a plastic screwdriver handle. Hollow tiles usually mean a bonding failure and are typically a guarantee item, not wear.
Month 11: This is the deadline month. Pull out your written guarantee and compare every item on it against what you’ve observed. Anything within the covered scope needs to be reported before day 365. Photograph every issue and keep the photos dated.
If your remodel was handled by a general contractor who gives you a written number before work starts, you already have the document you need for this checklist. If you don’t, that’s the first thing to fix. Our General Contractor in Spring Valley page explains what a real written scope includes for a project like this.
Grout Sealing Schedule: Matte vs. Polished Tile in a Dry Climate
The common advice is “seal your grout once a year.” In a low-humidity climate like Spring Valley’s, that’s too often for some grout and not often enough for others. The difference is surface texture. Matte and textured grout grabs mineral deposits from hard water and dust, releasing them slowly; polished grout lets water bead and drain. They need different intervals.
- Polished cement grout with a penetrating sealer: every 24 months. Test by dripping water on a joint – if it beads, the sealer is intact; if it soaks in within a minute, reseal now.
- Matte or textured cement grout: every 12 months. The texture holds contaminants that break down sealer faster, and our dry air won’t wash them away the way humidity does in coastal homes.
- Epoxy grout: does not require sealing. If a contractor tells you to seal epoxy, ask why before you agree to pay for it.
- Shower floor grout (any type): inspect every 6 months, reseal whenever the water-bead test fails. Standing water is the single hardest thing on grout.
There’s a Spring Valley-specific wrinkle here: our water is hard, and hard water leaves calcium deposits that look like grout haze but aren’t. Before you reseal, clean the joints with a pH-neutral tile cleaner and a soft brush. Don’t use vinegar on cement grout, no matter what a forum thread tells you – the acid etches the surface and makes the next sealer coat fail faster. A Bathroom Remodeling in Spring Valley project should leave you with a written note of exactly which grout was installed and whether it was sealed at handoff, so you know where your clock starts.
Exhaust Fan Maintenance in a Desert Home
Desert dust is finer and more abrasive than what most exhaust-fan guides assume. In Spring Valley, we regularly see fan grilles clog within three months of a new install, and the motor’s bearings start to whine by the two-year mark if nobody cleans them. That buildup doesn’t just make the fan noisy – it shortens the fan’s ability to move moist air out of the bathroom, which drives humidity into the wall cavity behind your tile and into the attic above.
Here’s the schedule we recommend:
- Every 3 months: Remove the grille (most pop off with a firm pull) and rinse it in the sink. Vacuum the visible dust off the fan blades with a brush attachment.
- Every 6 months: With the breaker off, unscrew the fan housing cover and vacuum the motor housing and the blades directly. A can of compressed air works too – do this over a trash bag with a mask on, because the dust release is significant.
- Every 12 months: Check the duct connection at the fan housing. Loose tape or a disconnected duct means the fan is pushing moist air into the attic instead of outside.
- Every 2 years: Test the fan’s airflow with a tissue. If it barely holds the tissue to the grille, the motor or the duct is failing and needs replacement.
What happens over those two years if you skip this? Dust accumulates on the blades, the fan loses balance, the motor runs hotter, and the bearings wear. Moisture that should leave the room starts condensing on cold surfaces. We’ve pulled drywall in a Spring Valley bathroom where persistent fan failure left a soft, stained section of framing that had nothing to do with the tile job. None of that is a workmanship defect – it’s maintenance, and it’s on you once the guarantee period ends.
Hard Water and Your New Fixtures
Southern Nevada water runs hard, and that hardness is the main thing that shortens the life of new Kohler or Moen fixtures compared to the same product in a soft-water market. The mineral content leaves scale on polished surfaces, etches into glass shower doors, and clogs aerators and showerhead spray holes. A softener helps, but the maintenance calendar still has to account for what a softener doesn’t remove.
What protects new hardware:
- Wiping down the shower and tub after each use with a squeegee – 30 seconds removes most of the mineral load before it dries onto the finish.
- A pH-neutral bathroom cleaner for daily use. No bleach-heavy sprays on brushed or polished metals, because they strip the protective coating.
- Monthly vinegar soak for showerheads, faucet aerators and the sink drain stopper – remove them, drop them in a cup of white vinegar for an hour, rinse. Vinegar on the metal is fine; vinegar on cement grout is not.
- Descaling the glass shower door every 6 months with a soft cloth and a dedicated descaler if you see hazing.
What damages new hardware:
- Abrasive scrubbers on any brushed-metal finish. They leave micro-scratches that hold minerals and look permanent by year three.
- Chlorine-based cleaners left to sit. Rinse and dry within a minute if you use them at all.
- “Miracle” descalers sold at hardware stores that contain strong acid. On a finish you paid for and expect to last a decade, that’s a bad gamble.
If you’re planning a full remodel, this is the moment to decide whether a whole-home softener goes in before the new fixtures do. Retrofitting a softener after a Kitchen Remodeling in Spring Valley project to serve both rooms costs less than installing it twice. The point is to protect the surfaces you’re about to put money into.
Caulk and Joints: The 18-Month Rule
Silicone caulk at every joint in a Las Vegas bathroom needs its first inspection at 18 months. Not 3 years. The joint between the tub deck and the wall, the seam where the shower floor meets the wall tile, the transition at the vanity backsplash – every one of these is subject to daily thermal movement that humid-climate guides barely mention. A 40°F swing between interior and exterior isn’t unusual here; the silicone stretches and compresses across that gap dozens of times a week.
At the 18-month inspection, look for:
- Hairline separation at any joint, especially the first 4 inches above a shower pan.
- Discoloration at the caulk-to-tile edge, which signals moisture is getting behind the bead.
- Stiffness – fresh silicone stays pliable; if the bead feels hard, it’s lost the elasticity it needs to move with the joint.
- Any place where the bead has pulled back, leaving a gap you can slide a fingernail into.
If you find any of these, remove and replace the silicone. Doing it yourself is entirely reasonable for surface joints – it’s a $15 job with a tube of 100% silicone and a smoothing tool. But if you’re seeing separation at a shower pan liner or at the floor-to-wall joint where there might be hidden moisture, that’s when you want a professional to look before you re-caulk over the problem. Recauking a failing joint seals moisture in, which is worse than leaving it exposed.
Weatherstripping, grout lines, and caulk are the first line of defense in a Spring Valley bathroom. Our Penhallow Remodeling Spring Valley home page walks through the full process of how these details get specified before a job starts.
Guarantee vs. Normal Wear: What Your Contract Should Say
This is where most homeowners get surprised. A one-year workmanship guarantee on a bathroom is not a maintenance plan – it’s a defect warranty. It typically covers things that were installed wrong; it doesn’t cover the natural aging of sealant, the wear of a showerhead, or the accumulation of scale on a polished metal finish. Reading your contract’s specific language before month eleven matters more than almost anything else in this guide.
What a well-written guarantee covers:
- Tile that comes loose or sounds hollow from a bonding failure.
- Any leak at a plumbing connection or fixture installed by the contractor.
- Grout that cracks along a joint (not the surface of an old sealer).
- Doors, drawers, or hardware that fail to function as installed.
- Walk-in shower or tub pan failure at the drain.
What it typically does not cover:
- Silicone that has aged and separated (that’s maintenance, not defect).
- Scratches, etching, or finish damage from cleaning products.
- Water damage from a clogged exhaust fan or a disconnected duct.
- Fogged glass from failed factory seals (usually a manufacturer warranty instead, not the contractor’s).
- Anything installed by the homeowner after the job closed.
The phrase to look for in your contract is “workmanship defects for a period of one year from substantial completion.” If it says “maintenance items excluded,” make sure the contractor gave you a written list of what those are. The Penhallow standard is a 365-day Done Right Promise that we define in writing before work begins – every job comes with a written price, a written guarantee, and a description of what falls inside each.
What Changes in Year Two and Beyond
Year two is when the thermal cycling has done its first real visible work. Silicone will need its first replacement, some grout lines will need freshening, and the fan motor needs a closer look. From here the maintenance rhythm settles into an annual cycle rather than the monthly checkpoints of the first year.
A sensible year-two-and-beyond calendar looks like this:
- Every spring: Full joint inspection, reseal matte grout, reseal polished grout every other year, clean fan motor.
- Every fall: Descaling pass on fixtures and shower glass, check the water softener salt level, replace the showerhead gasket if you see weeping.
- Every 18 – 24 months: Replace silicone at tub and shower joints, re-seal any joint that shows any sign of separation.
- Every 5 years: Full inspection of the shower pan, tile field, and the wall cavity access panel if there is one. This is a good time to have a professional assessment even if nothing looks wrong.
In Spring Valley specifically, you’ll want to plan the deep maintenance for early summer – before the worst of the heat – so the joints are stable and the fan is clean when the cooling load is highest. A bathroom maintained on this schedule regularly runs 15 years or more before it needs surface attention. One that isn’t will look tired by year six.
Common Mistakes to Avoid
- Treating the guarantee as a maintenance plan. A one-year workmanship guarantee covers defects, not aged silicone. If you assume it covers everything, you’ll file your first claim too late and learn the difference the hard way.
- Resealing grout on the standard annual schedule without testing it first. In Spring Valley’s dry climate, polished grout with a good penetrating sealer holds for two years. Over-sealing builds up a layer that peels and looks worse than the original joint.
- Waiting for a noisy exhaust fan to fix itself. Dust-clogged fans lose airflow silently for months before they start to whine. By the time you hear it, the bearing damage is done.
- Using bleach or vinegar on new fixtures. Both shorten the life of the finish on a Kohler or Moen wall-mount faucet significantly. pH-neutral cleaners and a monthly vinegar soak of removable parts is the right approach – vinegar on the metal is fine, vinegar on cement grout is not.
- Ignoring the shower pan on the assumption it’s waterproof forever. Pan liners fail at seams, not the middle. If you see any dark spot at the perimeter of the shower floor, treat it as urgent.
- Skipping the month eleven walkthrough. A homeowner who documents every issue in month eleven with dated photos has a straightforward guarantee claim. One who calls in month fourteen is usually told the item falls outside the covered period.
- Skipping a softener because the fixtures “should be fine.” New hardware is not maintenance-free in hard water. Spring Valley water is hard enough that finishes show scale inside 8 weeks of daily shower use without the right cleaning habits.
See the difference
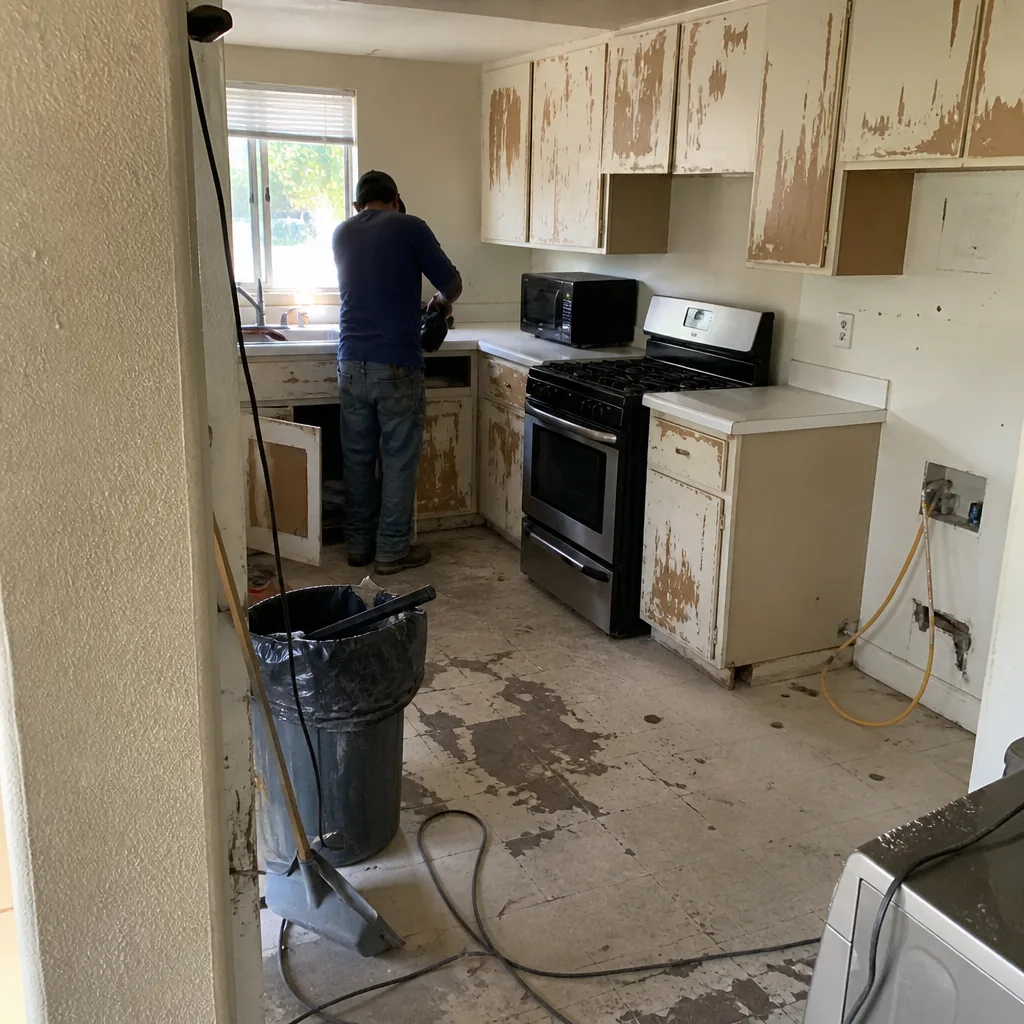 Before
 After
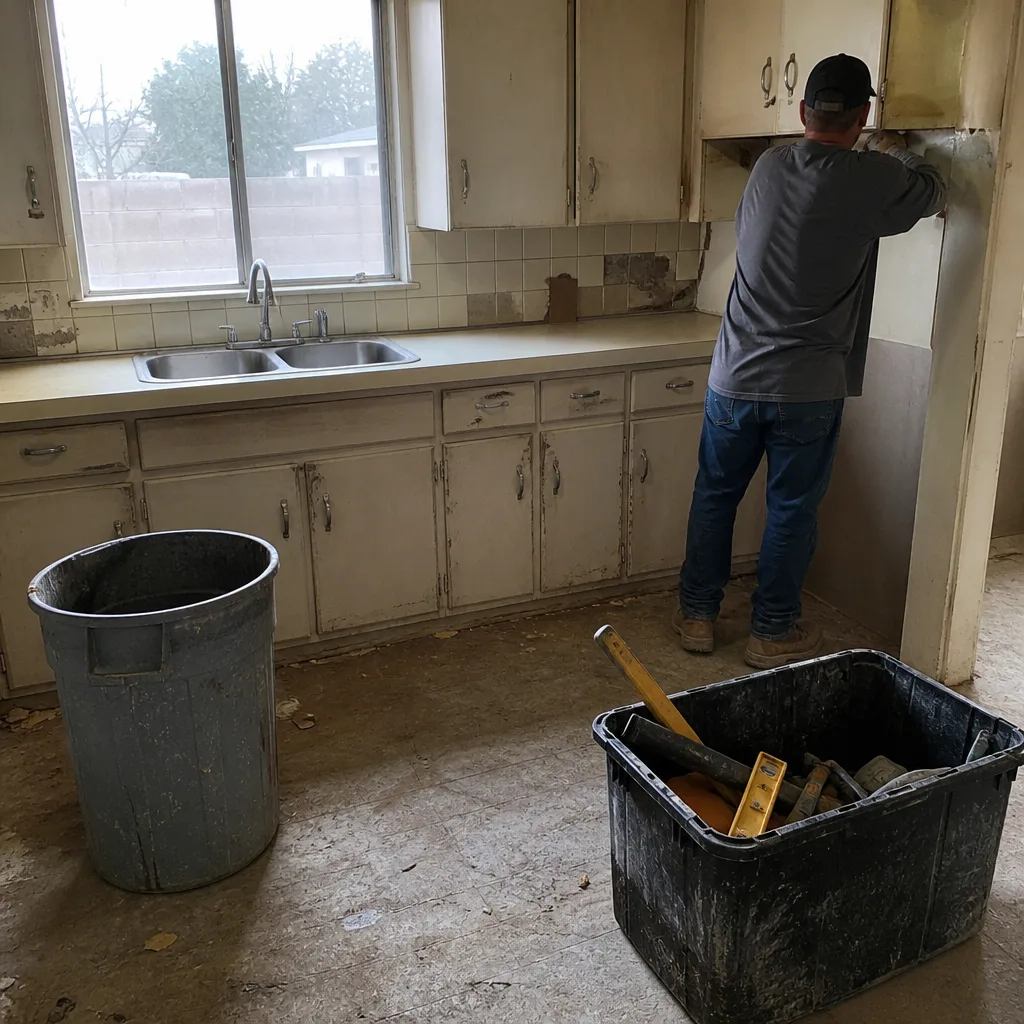 Before
 After
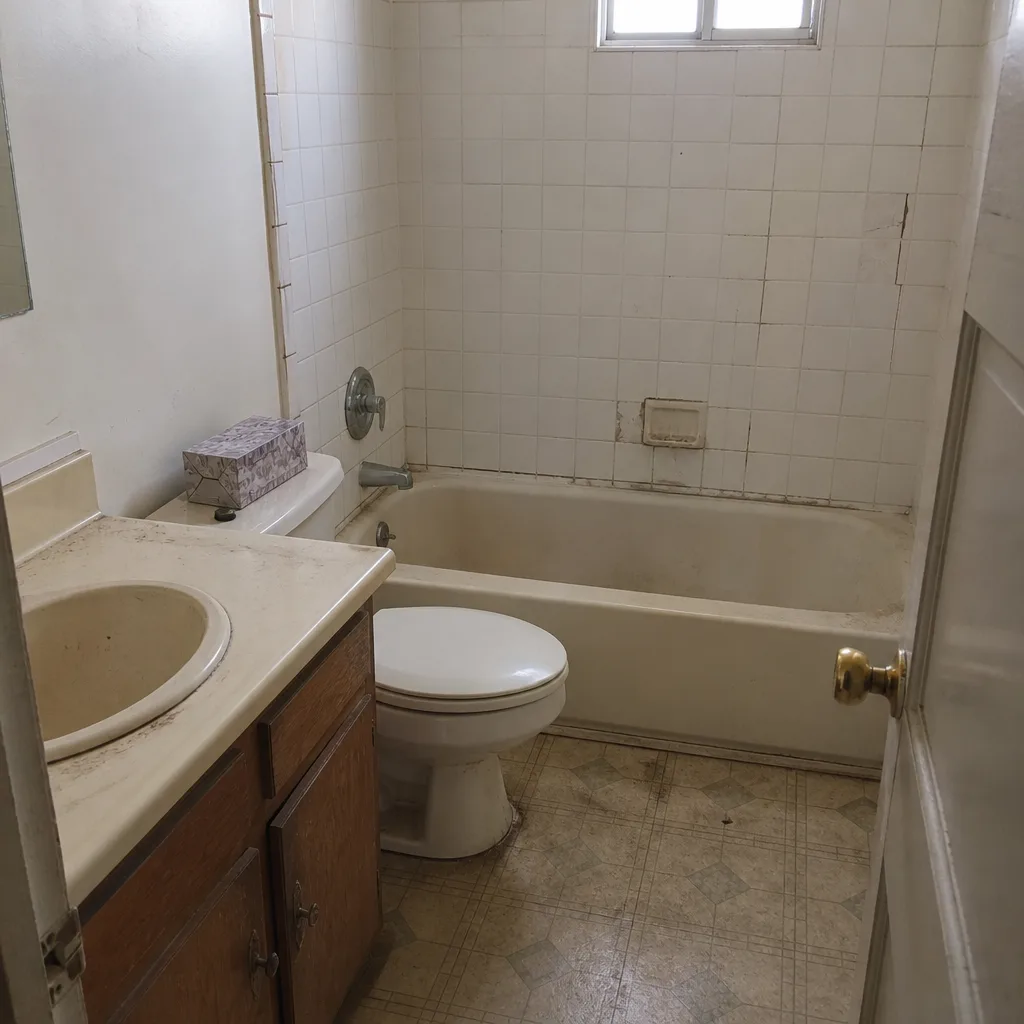 Before
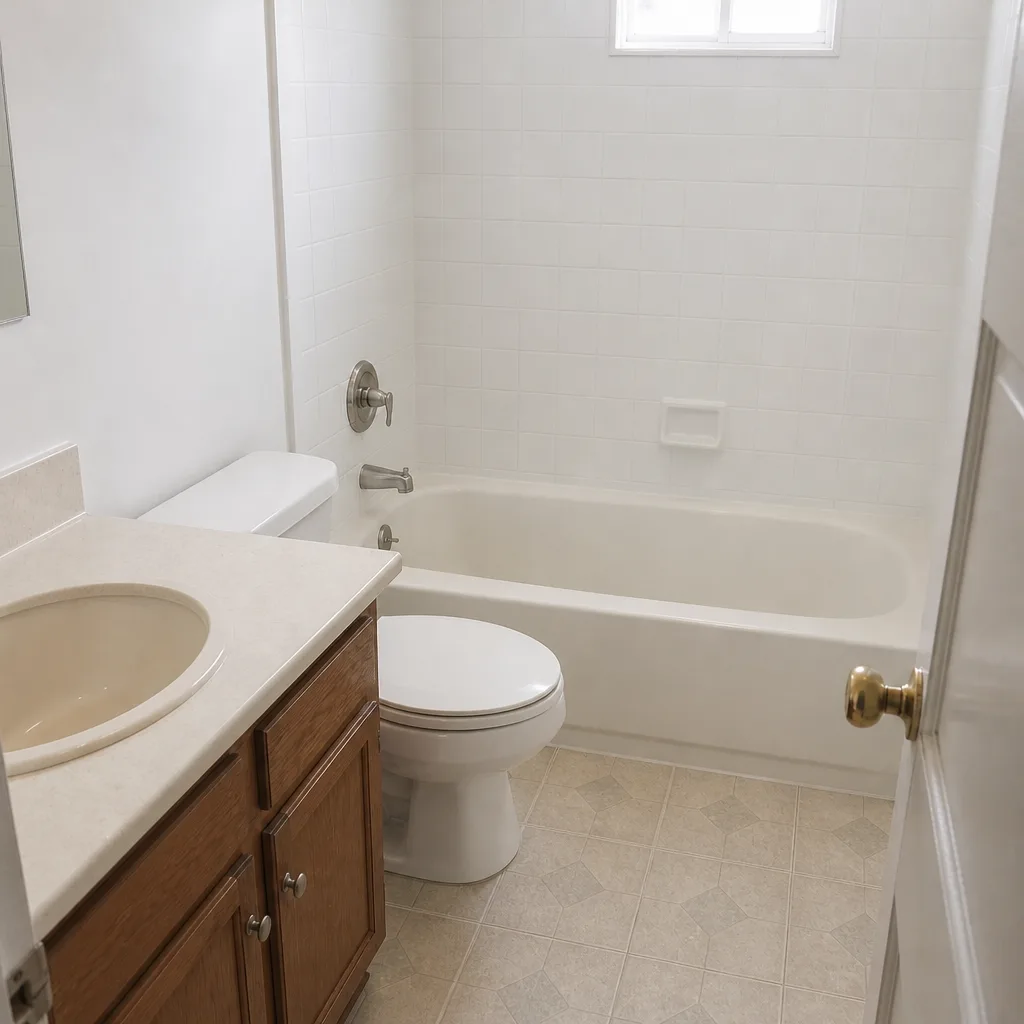 After
When to Call a Professional
Some of this calendar belongs in your hands – grille cleaning, caulk replacement at surface joints, wiping down fixtures. But there are specific situations where doing it yourself can cost more than hiring a pro. Call a professional if you see any of the following: hollow-sounding tiles in a shower wall (a sign of bonding failure, and often a guarantee item), water staining on the ceiling below the bathroom (shower pan or drain failure), a fan that no longer moves a tissue against the grille even after cleaning (motor or duct failure), any joint where you can slide a fingernail more than a quarter inch behind the tile, or visible mold at a cabinet base after a bath (moisture intrusion, not surface dampness). For those we recommend a professional inspection before you touch anything. Penhallow Remodeling Spring Valley offers free estimates in Spring Valley – call (844) 797-3346.
Frequently Asked Questions
Polished grout sealed with a good penetrating product lasts about 24 months in Spring Valley’s dry climate; matte or textured grout needs resealing closer to every 12 months because it holds mineral deposits from our hard water. Test the joint with a few drops of water: if they soak in within a minute, it’s time to reseal.
The first inspection is at 18 months, not the three years most national guides suggest, because the thermal cycling between your air-conditioned interior and the 115°F exterior works the joints at a rate humid climates never see. Look for hairline separation, stiffness in the bead, or any gap you can slide a fingernail into.
Usually yes, if the pan was installed by the contractor and the failure is a workmanship defect within the guarantee period. Read the exact language in your contract: a properly written guarantee lists the shower pan at the drain and at the seams as a covered item, and it typically covers 365 days from substantial completion. Call (844) 797-3346 for a free estimate if you need an assessment before filing.
Grille cleaning every 3 months and motor cleaning every 6 months. Desert dust is finer and more abrasive than what most fan-care guides assume, and it builds up on the blades quickly enough that we regularly see fans whining by the two-year mark in Spring Valley homes where nobody touched them.
Normal wear is sealant aging, finish dulling from scale, or a showerhead losing efficiency over time. A workmanship defect is a tile coming loose, a plumbing connection leaking, or a pan failure at the drain. The contract should spell out both categories; if it doesn’t, ask for the list in writing before you sign.
Yes, and you should. A pre-expiration walkthrough with a documented list of anything failing is the single best way to make sure your guarantee is honored before the covered period ends. A written guarantee includes a free second visit if a repair fails, so call (844) 797-3346 to set one up.
The Bottom Line
A remodeled bathroom in Spring Valley isn’t a one-and-done install – it’s a system under daily thermal stress from a climate that most home-maintenance guides weren’t written for. The core rules from this guide: inspect silicone at 18 months, reseal polished grout every two years and matte every year, clean the fan grille quarterly and the motor every six months, and do the month eleven walkthrough before your workmanship guarantee runs out. One-year guarantees cover defects, not maintenance. Do both, and your bathroom carries the finish, function, and value it was built for through year fifteen and beyond. If you’re remodeling now or planning to, and you want the number in writing before any work starts, call (844) 797-3346 for a free estimate.
Written by the team at Penhallow Remodeling Spring Valley.