
Last updated November 17, 2026








Free written scope consultation - allowances, timeline, and change-order rules on paper before a single trade is scheduled
Kitchen Remodeling Troubleshooting: Common Problems and How to Fix Them
If your new cabinet doors won’t close flush six months after installation, the cause is almost never the hinges. It’s a wall that wasn’t checked for plumb before the uppers went in. Adjust those hinges and you’ll be back at them twice a year forever, because the cabinet box is racked and the hardware is just reporting the truth. We’ve traced enough of these calls in Spring Valley to know the pattern: most kitchen problems that feel like contractor negligence trace back to a decision made, or skipped, in the first 48 hours of a job. This guide is a diagnostic map. It organizes problems by when they appear, names the real root cause behind each one, and gives you the language to demand the right fix instead of the convenient one.
Quick Answer
Most kitchen remodel problems come from three sources: walls and floors that weren’t checked for plumb and level before cabinets or tile went in, moisture getting behind a substrate that wasn’t sealed correctly, and ventilation or electrical placement decided late instead of planned early. Timing is your best diagnostic tool. A problem that shows up during construction is almost always an installation error. One that shows up within 90 days is usually a curing or settling issue. One that appears after a year points to a material failure or a decision that was wrong from day one. Match the timing to the cause and you’ll know whether you’re asking for an adjustment, a repair, or a rebuild.
Styles & brands we work with
- Kitchen remodeling
- Bathroom remodeling
- Home additions & ADU
- Roofing
- Windows & doors
- Driveway & pavers
- Fence
Table of Contents
- Sort the Problem by When It Appeared
- Cabinet Rack: When Doors Won’t Stay Aligned
- Tile Grout Cracking at Corners
- Countertop Seam Separation
- The Range Hood That Doesn’t Actually Vent
- Outlet Placement You’ll Regret in Year Two
- What a 365-Day Guarantee Should Actually Cover
- DIY Patch or Permitted Repair? The Clark County Line
- How to Call a Contractor Back
Sort the Problem by When It Appeared
Before you diagnose anything, put the problem on a timeline. We ask every homeowner in Spring Valley the same first question: when did you first notice it? The answer narrows the cause faster than anything else.
Problems that surface during construction are the easiest to fix and the most telling. A door that binds on day three of installation means the cabinet run isn’t level. A tile that sounds hollow when tapped means the thinset didn’t get full coverage. These are installation errors, and a contractor who’s paying attention catches them before the punch list. When they don’t, it tells you the quality check was skipped.
Problems that appear within 90 days are usually about moisture, temperature, or settling. Grout that cracks at an inside corner in the first month is often shrinkage, not a failed job. A cabinet that drifts slightly out of alignment as the house dries out during a Spring Valley summer is wood doing what wood does in single-digit humidity. Some of these are normal break-in adjustments, and a good contractor builds a return visit into the closeout to handle them.
Problems that show up after a year are the ones that matter most, because the guarantee period is where they land. Seam separation, water staining under a sink, a hood that never pulled air well from the start: these were baked in at installation and simply took time to reveal themselves. Those are the claims a written guarantee is built for.
Keep a simple dated note of when each issue appears. When you call, “the seam lifted around month fourteen” is far more useful than “the countertop is coming apart.”
Cabinet Rack: When Doors Won’t Stay Aligned
Cabinet rack is the term for a cabinet box twisted out of square, and it’s the single most common complaint we hear about kitchens finished by someone else. The symptom is a door that won’t sit flush, rubs at one corner, or pops open on its own. The instinct is to blame the hinges. The hinges are fine. They’re bolted to a box that isn’t square, so no amount of adjustment will hold for long.
The root cause is almost always a wall that wasn’t checked for plumb before the uppers went in, or a floor that wasn’t leveled under the base cabinets. In older Spring Valley homes, and especially in the single-story builds around the older sections of the valley, walls can be out of plumb by a half inch or more over an eight-foot run. A cabinet installer who shims the box square to the room instead of to a plumb line is setting up a failure. The cabinet looks right on install day and racks as the shims compress.
What a correct install looks like:
- Walls are checked for plumb and floor for level before any box is hung.
- Shims are placed at the stud locations and the cabinet is squared to a level line, not to the wall face.
- Doors are adjusted after the box is set and again at a closeout visit.
- Any gap between cabinet back and wall is scribed or filled with a filler strip, not left to shims alone.
If your cabinets are racked, the fix is re-setting the box, not replacing hardware. We install KraftMaid and Wellborn cabinetry, and both lines only perform if the box behind them is square. If you’re planning a kitchen and want the install done to that standard, our Kitchen Remodeling in Spring Valley page walks through the full process.
Tile Grout Cracking at Corners
Grout cracking at an inside corner, where a backsplash meets a countertop or where two wall planes meet, is the most misunderstood problem on this list. It looks like a failing tile job. Often it’s a design choice that was wrong.
Tile and grout move. Counters move. Walls move. Where two different materials or two different planes meet, that movement has to go somewhere. If the gap was filled with rigid grout, the grout takes the stress and cracks. The correct material at those joints is a flexible sealant, a color-matched caulk rated for the application, not grout. Spring Valley’s dry climate makes this worse: indoor humidity swings during the summer can move a countertop a fraction while the wall stays put, and grout has no give.
- Craze cracks across the field of tile (fine spiderweb lines in the grout surface itself) are usually shrinkage in a freshly installed floor and often cosmetic. They can be sealed and monitored.
- Cracks at inside corners and at the counter-to-backsplash joint are movement joints. They should have been caulked, not grouted. The fix is to cut out the grout and replace it with flexible sealant.
- Cracks running along a single tile edge can indicate a tile that isn’t fully bonded, which usually means thinset coverage was thin. That’s an installation error and the tile should be reset.
- Hollow sound when you tap a tile is the clearest sign of a bonding failure. If several tiles sound hollow, the substrate or bonding method is suspect.
If a contractor grouted an inside corner and it cracked, the remedy is to remove that grout line and replace it with sealant, not to smear more grout over the top. Grout over grout fixes nothing.
Countertop Seam Separation
A visible gap opening along a countertop seam is a structural symptom, not a cosmetic one. Seams separate for three reasons: the two slab pieces weren’t supported evenly underneath, the adhesive used at the joint failed, or the substrate below the counter wasn’t flat. All three are installation decisions.
Quartz surfaces, including the Cambria and Silestone we install, are engineered to be dimensionally stable, but they still need a flat, fully supported substrate and a properly clamped seam. When a seam opens, you’ll usually see one of two things under the counter: a gap where the substrate dipped, or a seam that was set before the adhesive fully cured and got worked loose.
What the repair involves depends on the cause. A clean seam separation with the substrate intact can be re-bonded and polished, and the joint becomes nearly invisible again. A seam separation caused by an unsupported spot means the counter needs to come up in that section and the substrate corrected before the seam is re-set. Patching the seam without fixing the support is the repair that fails again in six months.
Want to know what countertop work should include from the start? The General Contractor in Spring Valley page covers how we sequence substrate, cabinetry, and counter install so seams aren’t asked to carry loads they weren’t designed for.
The Range Hood That Doesn’t Actually Vent
A range hood that runs but doesn’t pull air is often a venting plan problem, and it’s one of the costliest to fix after the fact. The fan moves. The air just doesn’t leave.
The most common causes, in order of frequency we see them:
- Duct run too long or too many elbows. Every elbow and every foot of duct adds resistance. A hood rated for a given airflow will underperform if the run fights it. The manual for the unit states the maximum run and elbow count; if the installer didn’t check it, the hood was never going to pull well.
- Recirculating instead of venting outside. Some hoods can be set up to filter and recirculate rather than exhaust outdoors. That’s fine in some situations, but it’s not the same as venting, and if you expected the smoke and moisture to leave the house, they aren’t.
- Improper transition at the cabinet base. A rectangular opening down to a round duct, forced through a tight cabinet box, strangles airflow.
- Duct terminate in the attic or a soffit with no exterior termination. We’ve opened ceilings in Spring Valley and found a duct that stopped short of the roof. That’s a vent that does nothing but move attic air.
Diagnosing this is not a DIY job: it means getting into the duct run and confirming where the air actually goes, and if that involves cutting into a wall or roof deck, it’s a repair that needs to be done right. The fix is a proper duct path, the right transition, and correct termination, which may mean a permit.
Outlet Placement You’ll Regret in Year Two
Outlet placement is the quiet decision that keeps costing you long after the remodel is done. Codes set minimums; they don’t set good placement. A kitchen can meet code and still leave you running an extension cord across a walkway to plug in a coffee grinder.
What goes wrong most often in Spring Valley kitchens:
- No outlet on the island or peninsula. Code may require one, and plan review for a kitchen remodel will want to see it, but a single outlet on the wrong face of the island still leaves you short when you’re using the mixer and the phone charger at the same time.
- Outlets behind deep base cabinets that don’t leave room for the plug. The outlet is there; the appliance plug won’t fit between the outlet and the counter overhang.
- All outlets on one circuit. A modern kitchen runs a microwave, a kettle, an air fryer, and a toaster, and if they share a circuit with the lights, something trips. Dedicated circuits for high-draw appliances are a planning decision, not a change you can make on install day without cost.
- No GFCI protection near the sink. Required, and often skipped by a quick job that adds an outlet without updating the circuit.
The point is that outlet placement is a first-48-hours decision. If you’re planning a kitchen and want it right the first time, our Penhallow Remodeling Spring Valley home page is the starting point for how we scope a job before demo.
What a 365-Day Guarantee Should Actually Cover
A “warranty” is a word. A written guarantee names what’s covered, what isn’t, how long it lasts, and exactly what happens when something fails. You want the second one. Here’s what a real 365-day guarantee should include when you’re reading one.
Covered:
- Installation labor on cabinets, tile, countertops, and fixtures.
- Workmanship failures like rack, seam separation, tile bonding, and outlet installation.
- Materials that fail within their own manufacturer warranty, with coordination between the two warranties so you’re not stuck in the middle.
- The return visit, at no charge, when something covered fails.
What often gets quietly excluded:
- “Cosmetic” issues after a stated period, which can include exactly the grout shrinkage you’re trying to have corrected.
- Damage caused by “normal use,” which a contractor can define broadly.
- Anything requiring a return visit that the contract calls a “service call,” with a fee attached.
- Material failures that the contract says to take up with the manufacturer, leaving the homeowner to do the coordinating.
The Penhallow guarantee is the 365-Day Done Right Promise. If the work fails inside that period, we come back and fix it at no charge, and it’s written into the contract on every project. The free return visit if a repair fails isn’t a favor we might do: it’s a standing commitment, included with the job. That, plus written pricing before any work starts, is the standard we hold every Spring Valley job to. If a guarantee you’re reading doesn’t say what happens when a covered item fails, ask.
DIY Patch or Permitted Repair? The Clark County Line
Not every fix needs a permit, and knowing which repairs cross the line saves you a failed inspection later. In Clark County, the line is about whether you’re changing the building’s systems or just restoring a finish.
Usually a patch, no permit:
- Re-grouting a joint that was grouted instead of caulked.
- Re-bonding and polishing a separate counter seam with the substrate intact.
- Adjusting cabinet doors after a box is confirmed square.
Needs a permit for the repair:
- Running a new outlet or circuit in a kitchen. Adding an outlet is a wiring change and should be done by a licensed electrician under a permit.
- Modifying the range hood duct path through a wall, ceiling, or roof deck.
- Pulling and re-setting counter sections that require opening the substrate or moving plumbing.
- Re-setting base or wall cabinets if the repair involves opening walls, relocating gas, or adding lighting.
Permits are there to make sure the repair gets inspected and the record exists. For work on a kitchen, we pull the permits, we pass the inspections, and the paperwork comes to you. That’s part of what a general contractor should be handling on any repair that crosses the line, and it’s the reason we don’t call a permitted repair a DIY fix.
How to Call a Contractor Back
The difference between a fast, correct fix and a series of return visits is usually in how the call is described. Lead with cause, not symptom. Here’s the language that works.
- Name the symptom and the timeline. “Two doors in the upper run stopped closing flush about four months after install.” That’s the start, not the end.
- Describe what you’ve observed underneath the symptom. “The box looks twisted when I put a level on it” or “There’s a gap under the seam where the substrate dips.” Don’t try to diagnose the cause yourself: describe the evidence. A good contractor takes it from there.
- Be specific about which piece of the job it was. “The uppers over the sink,” “the seam between the sink run and the peninsula” – not “the cabinets.” Context drives the right fix.
- Reference the guarantee. “I’m calling under the 365-day promise” tells the contractor this is a covered repair and should be handled as one.
- Ask for what happens next in writing. What’s the fix, when, and is it covered. That’s the close of the conversation.
One more note: if it’s a gas line, an electrical panel, or a structural issue inside a wall, don’t touch it. The safe move is to call, and if the symptoms point to those systems, keep the appliance off and the area clear until a professional is there.
Common Mistakes to Avoid
- Fixing the hinge when the box is racked. Adjustment without diagnosis just resets the clock on the same failure.
- Grouting an inside corner that should have been caulked. In Spring Valley’s dry climate, that grout will crack again if it’s replaced with more grout.
- Accepting a verbal scope for a counter repair. If the substrate isn’t corrected before the seam is re-set, the repair is temporary. Get the scope in writing.
- Letting a hood run without checking where the duct terminates. A duct that stops in the attic doesn’t vent anything. Confirm the exterior termination before the wall gets patched.
- Adding an outlet without a permit or a dedicated circuit. What’s cheapest on install day is often the most expensive the first time everything on the counter is running at once.
- Throwing out the contract before the guarantee period is done. The written guarantee lives in the paperwork. Keep it until at least a year after the final walkthrough.
- Calling in month fourteen about a problem that started in month two. The earlier a covered issue is reported, the cleaner the record and the faster the fix.
See the difference
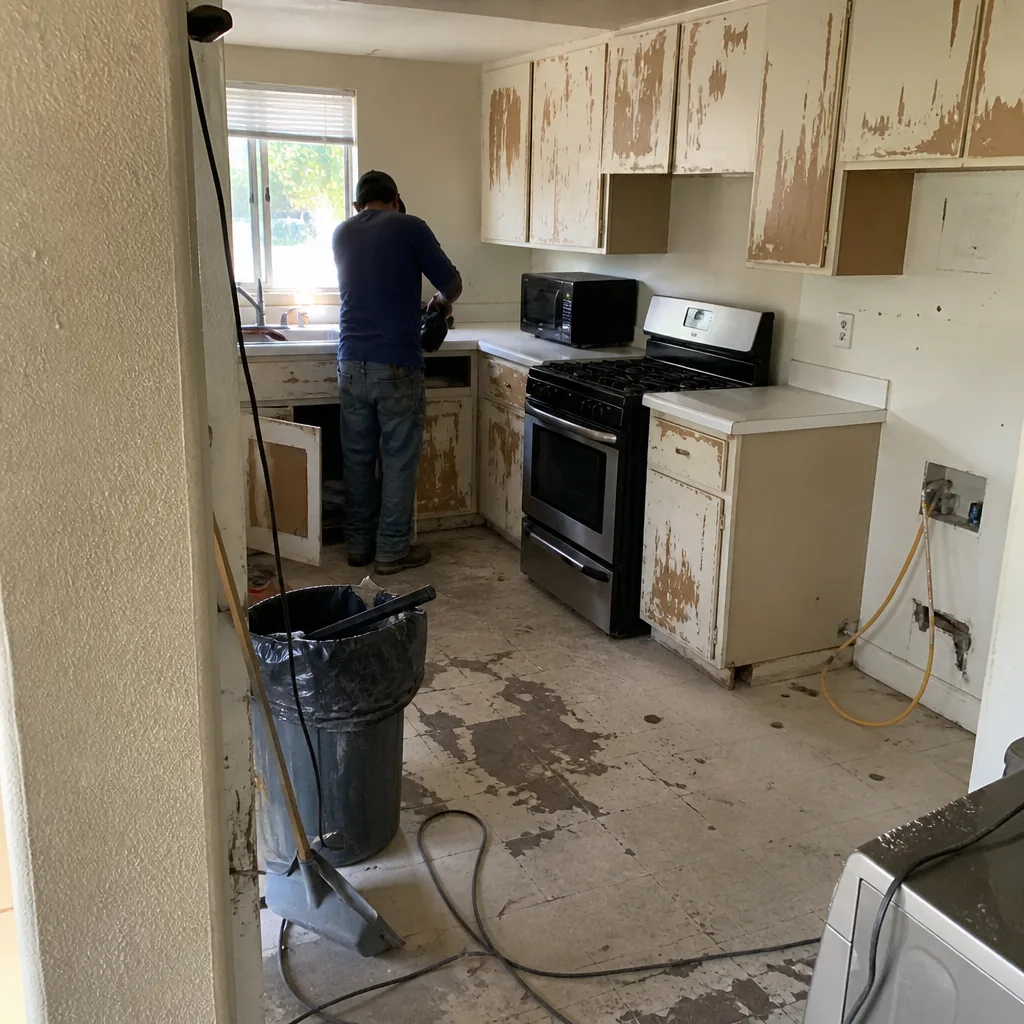 Before
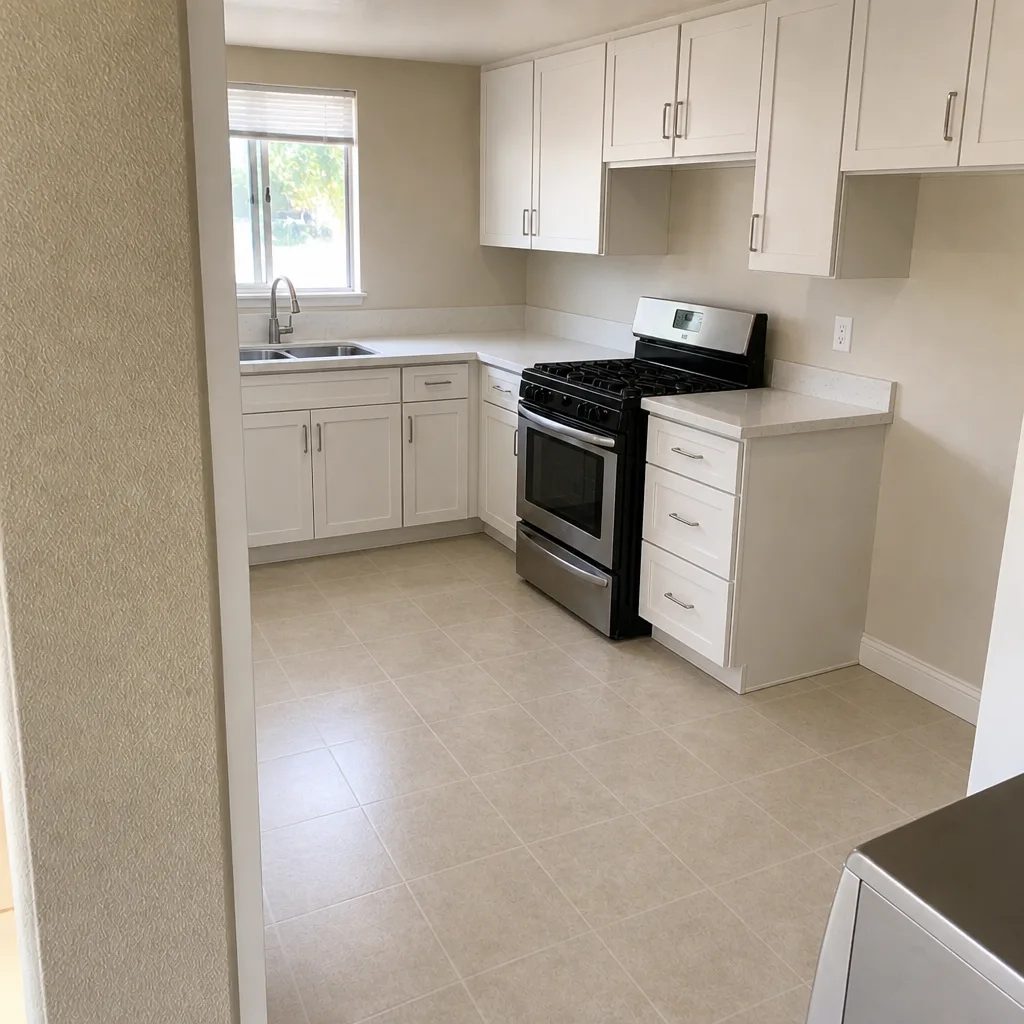 After
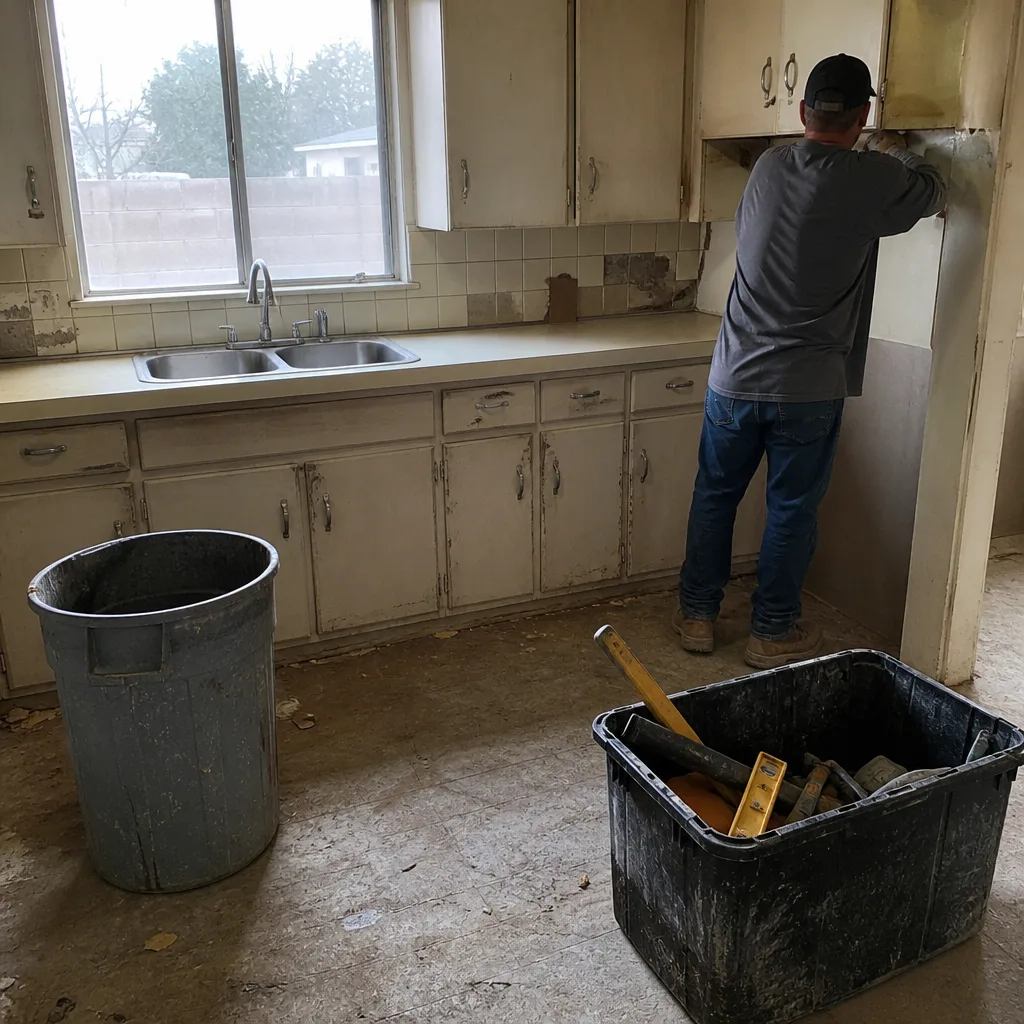 Before
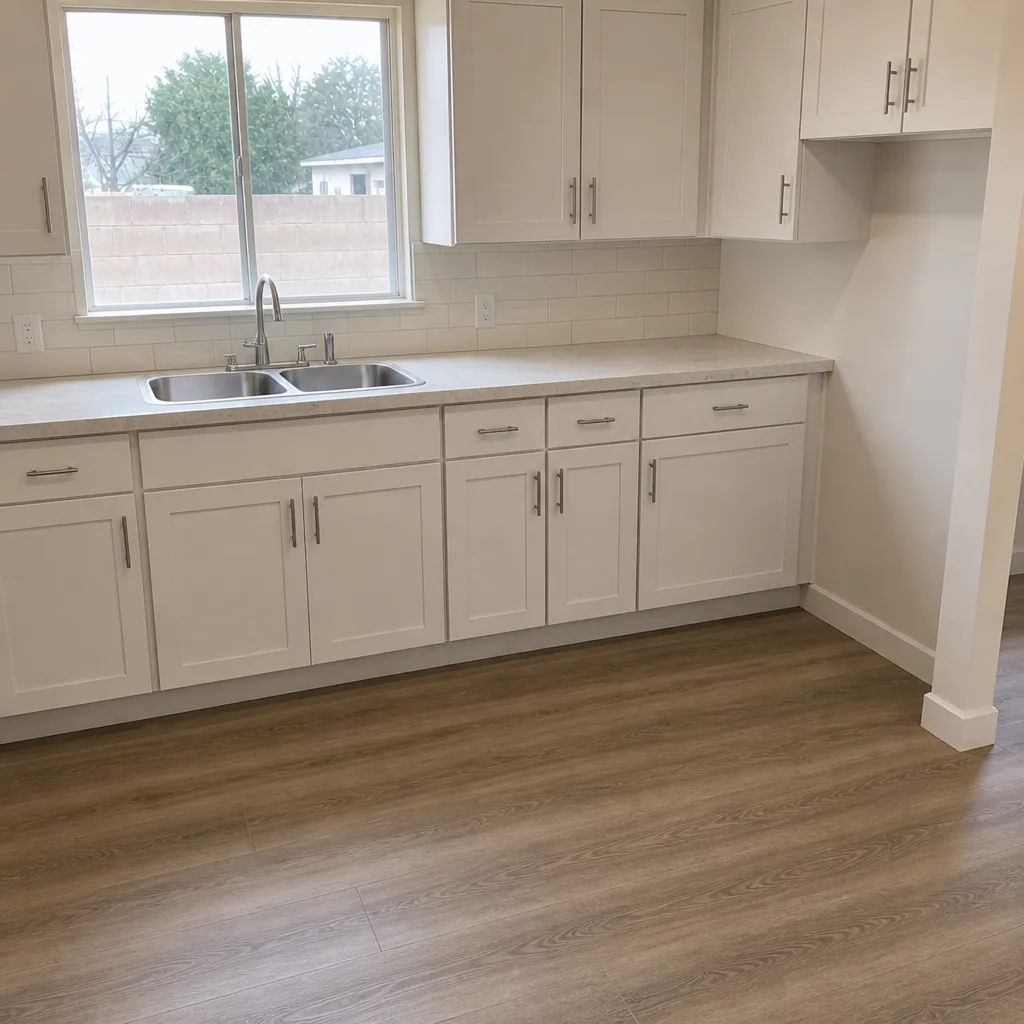 After
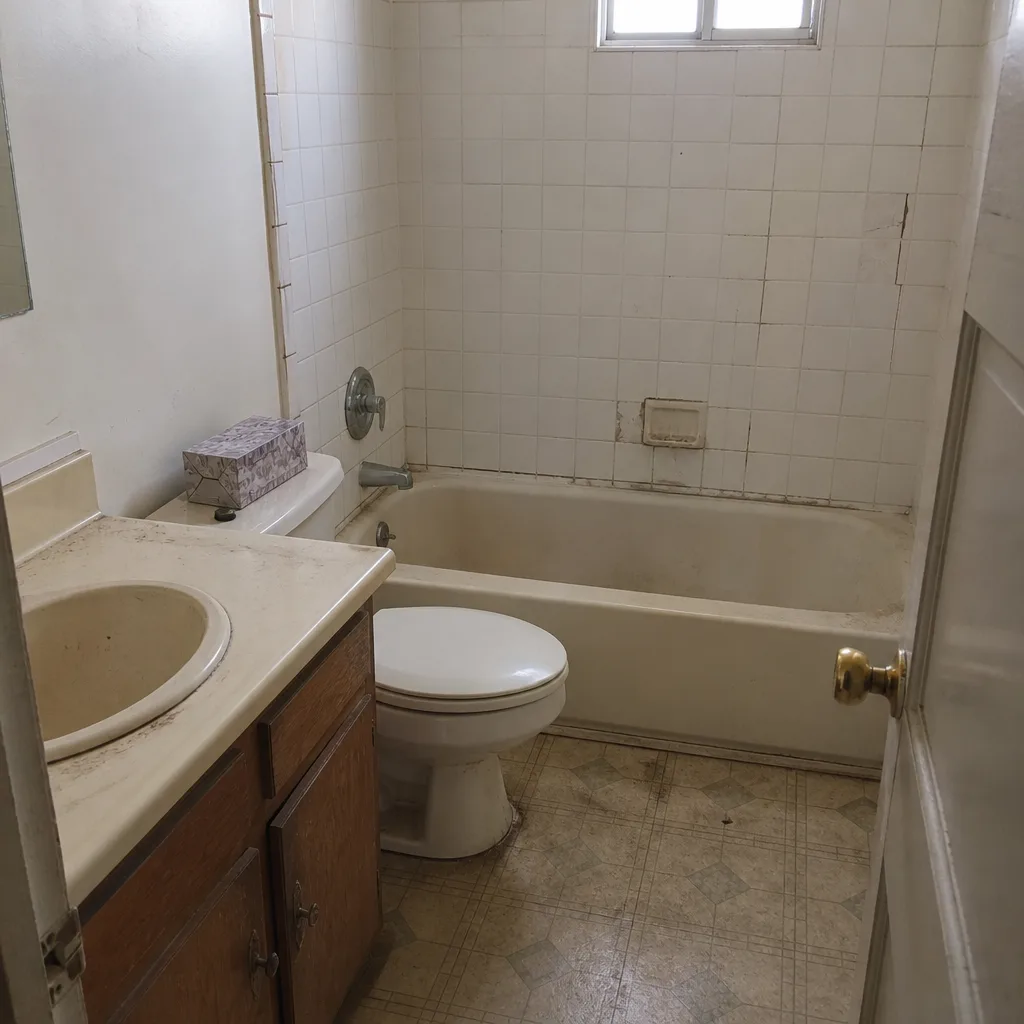 Before
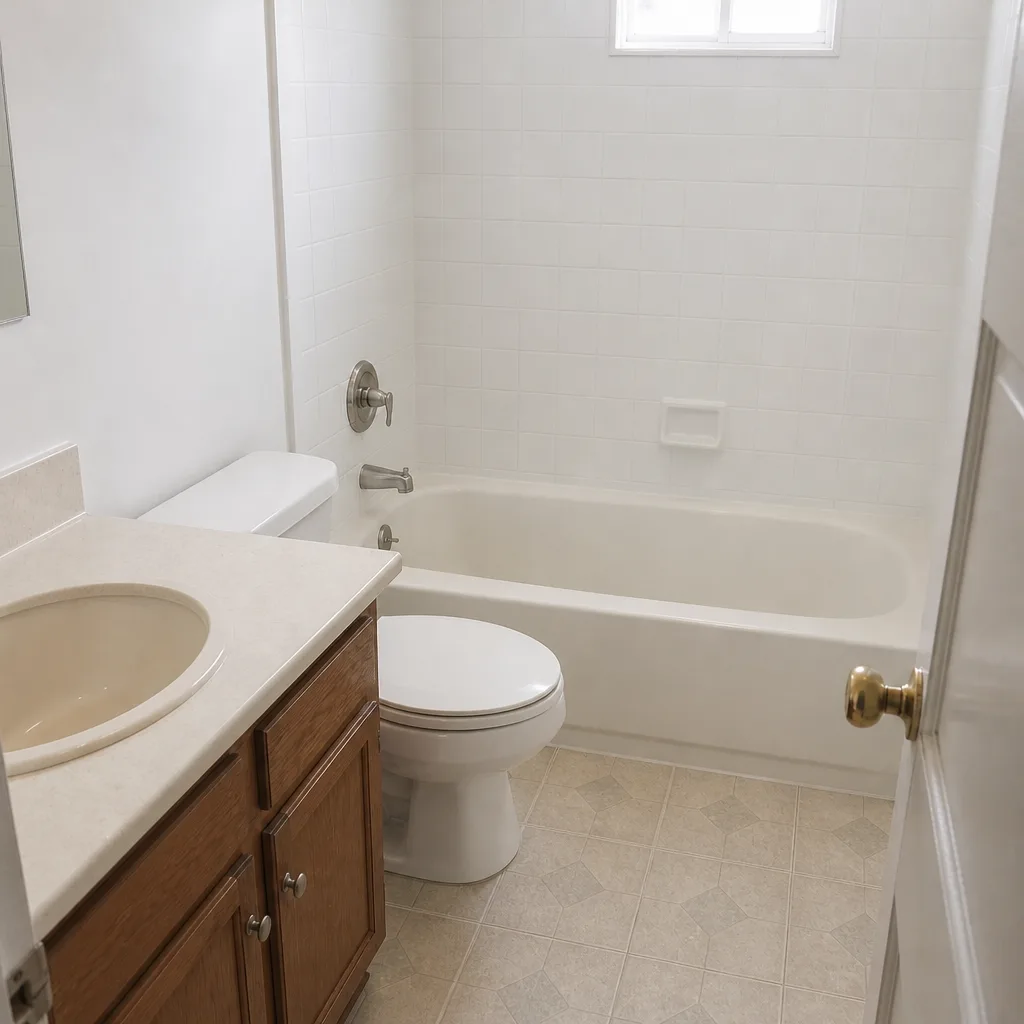 After
When to Call a Professional
Call a professional when the problem involves anything inside a wall, anything on a circuit or gas line, or anything that needs a permit. That includes a range hood duct run, a counter repair that means opening the substrate, and any outlet work. Also call when your cabinet boxes are racked, your seam is opening, or your tile has gone hollow: those are not issues a DIY patch fixes without the diagnosis behind them. Penhallow Remodeling Spring Valley offers free estimates in Spring Valley. Call (844) 797-3346 and a real person will answer, and we’ll give you a written price before any work starts. If you’re planning a broader project, the Bathroom Remodeling in Spring Valley page covers how the same standard applies to the other big room in the house.
Frequently Asked Questions

Because the cabinet box behind them is racked, not because the hinges failed. A box that wasn’t set square to a plumb line shifts as shims compress, and the doors take the stress. The fix is re-setting the box, not adjusting hardware.
Flexible caulk, color-matched to the grout. Grout is rigid and has no give, so it cracks where a countertop meets a backsplash or where two wall planes meet. If it cracked once, cutting it out and replacing with sealant is the repair.
It’s common, and it’s the exact word to interrogate. Cosmetic exclusions can be written so broadly that the grout shrinkage and seam changes you’re calling about fall outside the guarantee. A written guarantee should name what’s covered, what’s not, and what happens when a covered item fails. Call (844) 797-3346 if you want to compare what you’ve been offered against the Penhallow 365-Day Done Right Promise.
If the repair modifies the duct path through a wall, ceiling, or roof deck, yes. A duct run change is a building modification in Clark County and needs a permit and inspection. A hood that only needs a filter or a fan-speed check doesn’t.
Re-bonding a separate seam with the substrate intact is a few hundred dollars, while a repair that opens the substrate to correct the support is more. The number depends on what’s actually under the counter, which is why the diagnosis comes before the price. Call (844) 797-3346 and we’ll give you a written estimate, not a range over the phone.
Lead with the timeline and the evidence, not the diagnosis: “two upper doors won’t close flush since month four, and the box is twisted when I check it with a level.” That tells the contractor the cause is rack, not hinges, and they can bring the right fix. Then ask for the fix, the date, and the coverage in writing.
The Bottom Line
Most kitchen remodel problems have a cause you can trace. Racked cabinets trace to a wall that wasn’t checked for plumb. Cracked grout traces to a joint that should have been caulked. Separated seams trace to a substrate that wasn’t flat. A hood that doesn’t vent traces to a duct path decided too late. Match the problem to its timeline, describe the evidence and not the symptom, and ask for the fix in writing. That’s how you get the right remedy instead of the convenient one. If you’re planning a kitchen in Spring Valley or facing a repair you’re not sure crosses the permit line, call (844) 797-3346 for a free estimate. We answer 24/7 with a real person, and the price you get up front is the price on the invoice.
Written by the team at Penhallow Remodeling Spring Valley.